The other 'half' of the new Forces of the Abyss Ambush box are the Abyssal Nagarri (no, not Nigiri)

These chariot sized snaked beasts are a support unit, and the sprue makes 1 model (with 4 heads, and 3 arm variants)


This is actually really easy to put together until you get the arms. Since this is just one model, there are not A/B/Cs, just straight numbers.
1-4 are the heads - all interchangeable. Close enough in size that you could swap them out with the Berserkers.


So far so good. I figured the parts were numbered in pairs for the arms, so cut out parts 10 and 11.

It wasn't until I went second arm set that I found they are NOT numbered in pairs.
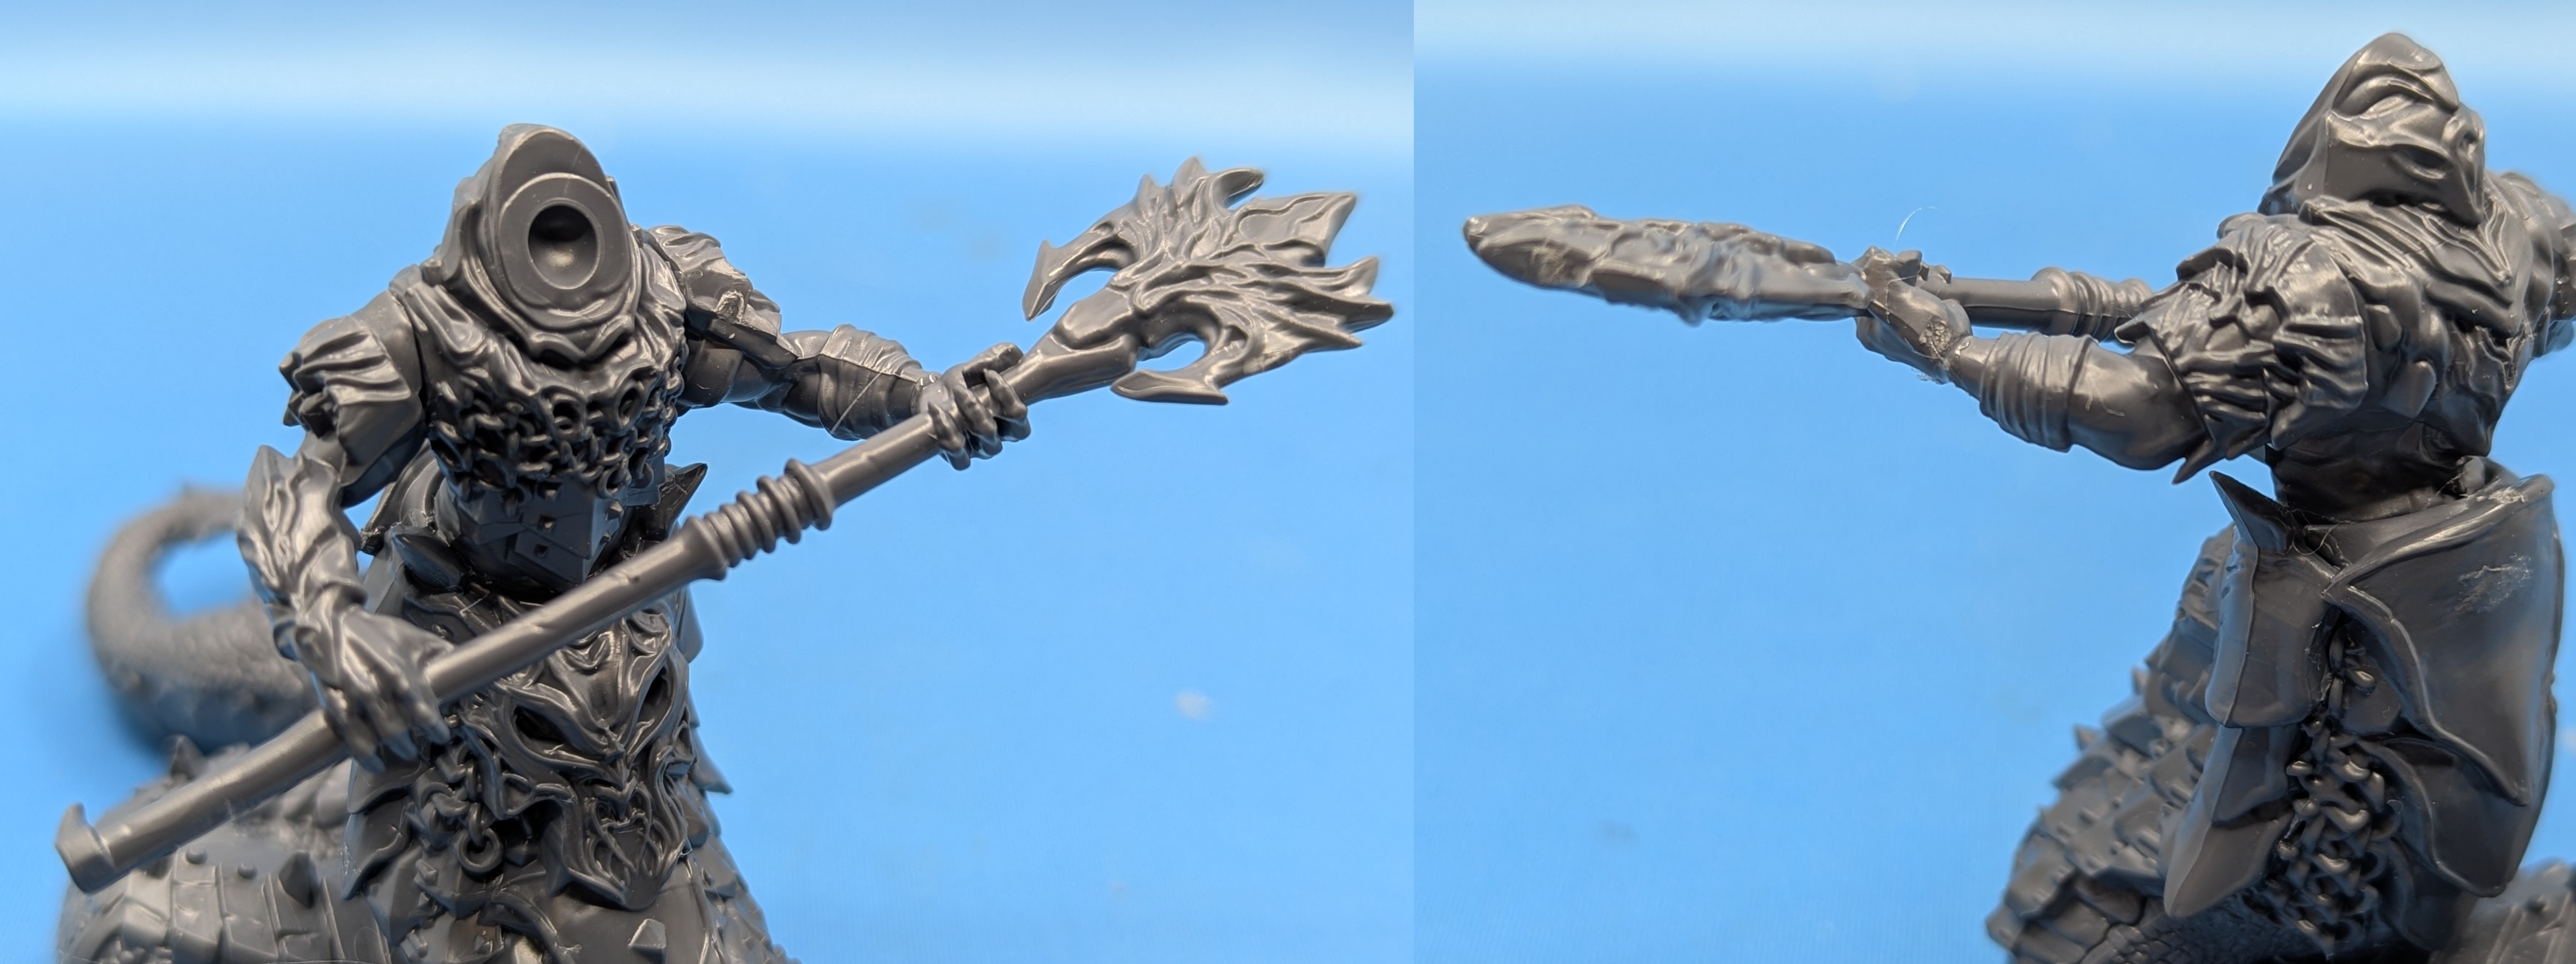
So 10-11 are the big battle-axe

It turns out the arm holding the weapon, and the one that isn't are keyed to each other (but unfortunately 2 of them are NOT strongly keyed :-(

When attaching the arms, I put plastic cement on both of the shoulders (which are flat connections), and then a little drop on the end of the arm. I then positioned the arm holding the weapon, and gave it a few seconds to partially set (such that I didn't need hold it in place any longer), then I put in the other arm, lining up the shoulder and making sure the arm fits the wrist. If you are making several units you should be able to adjust the shoulder connections to give a bit more variation.
So I went for parts 12 and 13, and discovered that they don't fit together because while 12 is not strongly keyed, 13 IS. In addition this arm holding the weapon is in the LEFT hand, while the other two are in the right. It is difficult to tell with the arms without hands, but if you put them on the wrong side of the body then the elbow angle is all wrong.
So the next pair is 12 and 14
So the next pair is 12 and 14


This leaves only two parts left - 13 & 15.


This one feels weird to put together, as the arm is sweeping upward (when in general you think of 2 handed weapons moving downward to strike)

As I mentioned above, the heads are all interchangeable. As you can see, I recommend waiting until the end to put the heads on. This is because if you choose to put all three models on the unit base, it is 'challenging' to make them fit (though you can). The way I did it was to angle the bodies a bit differently - and that means I needed to angle the middle head slightly to match the angle it was facing.

It turns out I do NOT have a 150 x 100 magnetic base for these, but I do have several 150x50 bases, which can be combined. The interesting thing is if you look at the bottom of the tails, you will see there are two flat spots to glue them to the base - and both of these end up on the first base, with the tails actually slightly suspended above the base. (I will glue these bases together however, as using a tray could be confusing for people doing demos (I have had people sit down with a demo army, pick up each unit and immediately remove it from the magnetic tray (not often, but more than once)).
Now to get these painted up before Origins.
Because it is all fun and games. . .
Totally agree with you on the weird positioning of the weapon heads.. since the first product pictures are out, I'm thinking to myself that those have to be removed and reattached on the other site :) thanks for the in depth look. Didn't realise that all share an identical body.
ReplyDelete