Of course that must mean the new Trident Realm miniatures are here! Two new hard plastic kits - Riverguard (replacing the old metal miniatures) and Dambusters (in addition to the one resin kit already available for the Dambuster Sentinel). Plus some interesting Dambuster upgrades, and some resin kits as well.
Today I'll show what everyone is most interested in - the new plastic kits.
While both of these new kits are available separately, the best deal (if you ask me) is the Ambush box.
The ambush contains enough sprues to make 20 riverguard (and with the new 2024 version of the list, they can be upgraded to give them a shooting attack), and three Dambusters (which can be either Riverguard Dambusters (these are the fighting version that was in the list before) , or Treeleaper Dambusters (with a shooting attack). (The names are backward to me, because when on foot, the Treeleapers are the fighty version (see the Unit Profiles sheet below). In the 2024 list the 'treeleaper' unit is gone, now just an upgrade (or maybe sidegrade, as they gain CS(1) but lose the shooting attack) to riverguard.

All Ambush boxes come with Quick-Start Rules (this is not the Free rules booklet, and while it is sufficient to start playing, you will want to get the full rules (available in the free companion online) as soon as you can. It has a reference sheet for the units in the box - they intend this box to be a troop of Riverguard, a troop of Treeleapers, and a regiment of Dambusters. (It is interesting to note that the sample units split out the ranged vs fighting default - when in the new update they are one profile with a free upgrade to shooting (but loosing the CS(1)). This is probably done to make it clearer that the option was taken on one version, which could be confusing to people if this is the very first thing they ever got for Kings of War.
On the back of this reference are some assembly instructions (yeah).
Well if they are going to give instructions now - I guess I'm not needed anymore.
Ok, while these are nice, I keep hearing that people like reading about how I assemble the models (probably to laugh at the mistakes I make so that you don't have to!). So I guess I can keep going.
In the Ambush box are seven sprues - 4 Riverguard (which make 5 infantry models each) and 3 Dambusters (which each make 1 large cavalry model and rider).
This gets long, so I'm actually going to split it into two posts. I'm more excited about the Dambusters, so I'll do them first. The Riverguard will follow soon!
That is lot of pieces for a big frog - it looks like there are several options. It is nice that all the parts are numbered and lettered - the mount are the A parts, and the rider is the B pieces. There appear to be two pairs of rear legs and two pairs of fore legs, as well as two heads. The rider also has two head options, and two weapon options.
Before I get to the assembly, I wanted to try something a little different. So if you are interested in a big helping of blog sausage, read on. If not, feel free to skip past it.
BLOG SAUSAGE ---------------------------------------------------------------------------------------
It is (I believe) a fairly common expression that beware of asking how the sausage is made - it might spoil it for you.
D M Guay, one of my favorite authors (if you haven't been reading her fantastic Demon Mart 24/7 book series (and if you find my writing even partially amusing, her blend of comedy and horror will surely be up your alley), adds an afterward to her books she calls Book Sausage - because it talks about how the book was made, what her inspirations were for it, and lots of juicy details that go into what you just enjoyed. I saw that and loved it, and now I have the opportunity to
steal pay tribute to it in my own miniscule corner of the internet.
As I said above, I decided to try something different. Usually I take all the pictures, making a few mental notes on what I want to write about them, then when that is done. I download the pictures (thanks Google), crop them to clean them up a bit, occasionally combine two images into one to save space (that is about all I know how to do, maybe add an occasional circle or arrow), and write the blog, uploading them as appropriate.
Occasionally you may noticed me mentioning that I forgot to take a picture at a specific step. Since things are generally assembled at that point, it can't go back and do it again. Or the picture ends up being blurry (that is, of course, 100% user error). Seeing how 'interesting' this assembly would be, I thought I would attempt to take the pictures 'live' as I write this.
If you want to see the messy 'kitchen' for my blog, here is the set up I'm using to assemble and take pictures while writing this entry. (Well except for my cell phone, which is in the tripod over the 'self-healing' pad (this is the back of a new one I picked up at Adepticon.)) I have pretty crappy light in my basement, so I just moved my light box over.

(Hopefully there's nothing too embarrassing in the background). I originally did not intend to have a tv down in the basement, but we ended up with 4th one, so here it is (I generally have it set to Pandora while doing anything, as movement on the screen distracts me, and I while I have heard so many people talk about listening to podcasts while they work - I have found that unless I can't do anything else that requires concentration while listening or it becomes annoying noise in the background. So podcast are limited to driving and walking the dogs).
Ok, enough of that crap, back to what you wanted to see.
END BLOG SAUSAGE ---------------------------------------------------------------------------------
So building the dambuster (or is a damn buster?). A1 and A2 are the two halves of the body - this is what keeps you from being able to build more than one per sprue, as there is just one body (much like the Northern Alliance Frost Claw Riders)
Looking at the sprue, I saw A3 and A4 near each other. It seems that all the legs are 2 pieces. So naturally they would be numbered next to each other on the sprue. Or at least it is natural to me, but NOT to whoever labeled the parts. A3 and A4 turn out to both be the left side of a back leg. I found A5, and it fits perfectly with A4 (that makes sense at least). Now to find the other pairs of parts for legs.
Rear leg pieces. One note - when removing these from the sprue make sure you carefully clean it, as the sprue connects on some places that are flat connections - so if the part is not cleaned it looks like they don't fit together.
Left rear leg A3 - A7

Right rear leg A4 - A5
Right rear leg A20 - A27
Left rear leg A21 - A25
Now if you got over enthusiastic and just started removing parts from the sprue, so don't know your A25 from your A27 (or in my case when I go to put them in my bitz bin - I don't keep the sprues with just some parts on them - that takes up way too much room) don't worry. Each leg half only fits with the corresponding half, you can't really mess them up. Plus the inner part of the leg is always the smaller part. If that helps.
Now, when attaching the legs, they still tend to go in pairs (the low number (i.e. shorter) legs go together, and the high number (i.e. taller) legs go together). You may be able to mix these up, but you risk making your dambuster lopsided. When in doubt - use some blu-tac to see how they look together. Be aware that all the poses are jumping, so only the rear legs are touching the ground. Of course once you add in a bit of green stuff you can adjust the legs any way you like, even to the point of making the frog standing nearly straight up. I do recommend that which configuration you decide to use (and I would expect most people to use several), I suggest making sure the feet sit flat as you glue them to the body (luckily plastic glue is very forgiving, and easily allows you to move pieces around as you need to.
It is nice that this is a flat joint, so it is easy to work with.
 |
| The longer legs are on the left, the shorter on the right (having watched a video on some of the commercial songs of the '80s yesterday, I now have "who wears short-shorts" going through my head). |
Ok, now that we have the rear legs - the fore legs
should be easy. But since the numbering is already messed up, it isn't. Once again each fore leg is in multiple pieces - two of them are in two pieces, the other two are in three pieces (the
manus (yes, I had to look that up - it is the 'hand' (the 'foot' is the pes, 'fingers' are digits, and 'toes' are, well toes) is separate on those.
Left Fore leg A6 - A9
Right Fore Leg A7 - A13
Left Fore leg A22 - A24 - A26
Right Fore leg A19 - A23 - A28
So once again we have 2 of each fore leg - however these look like they can be mixed freely.
Much like the rear legs, each of these only goes together one way.
If you want them to match, one set of legs has straps, while the other has bits of cloth on them.
One additional note - you may want to wait to glue the manus on until AFTER you have positioned the arm, to make sure it is at the angle you want. I noticed the angles were a little off on mine after I glued the arms on.
There are three head variations.
First is the head with the mouth closed (A17 - A18). Just two halves - easy.
Then there is the open mouth. It has two lower jaws - one that is just a tongue, the other is spitting fire. (The one spitting fire is for the Riverguard Dambusters with the shooting attack).
Both of these use the head A14 - A15.
The tongue is lower jaw A10 - A16.
The spitting lower jaw is A11 - A12.
UNLIKE the legs, the lower jaws are not easy fits - the fit is very subtle. The key here is to make sure the bit on the bridle (the round bar going across the lower jaw) lines up. If you throw these in a pile then have fun sorting them out - took me a while to figure out what went where.
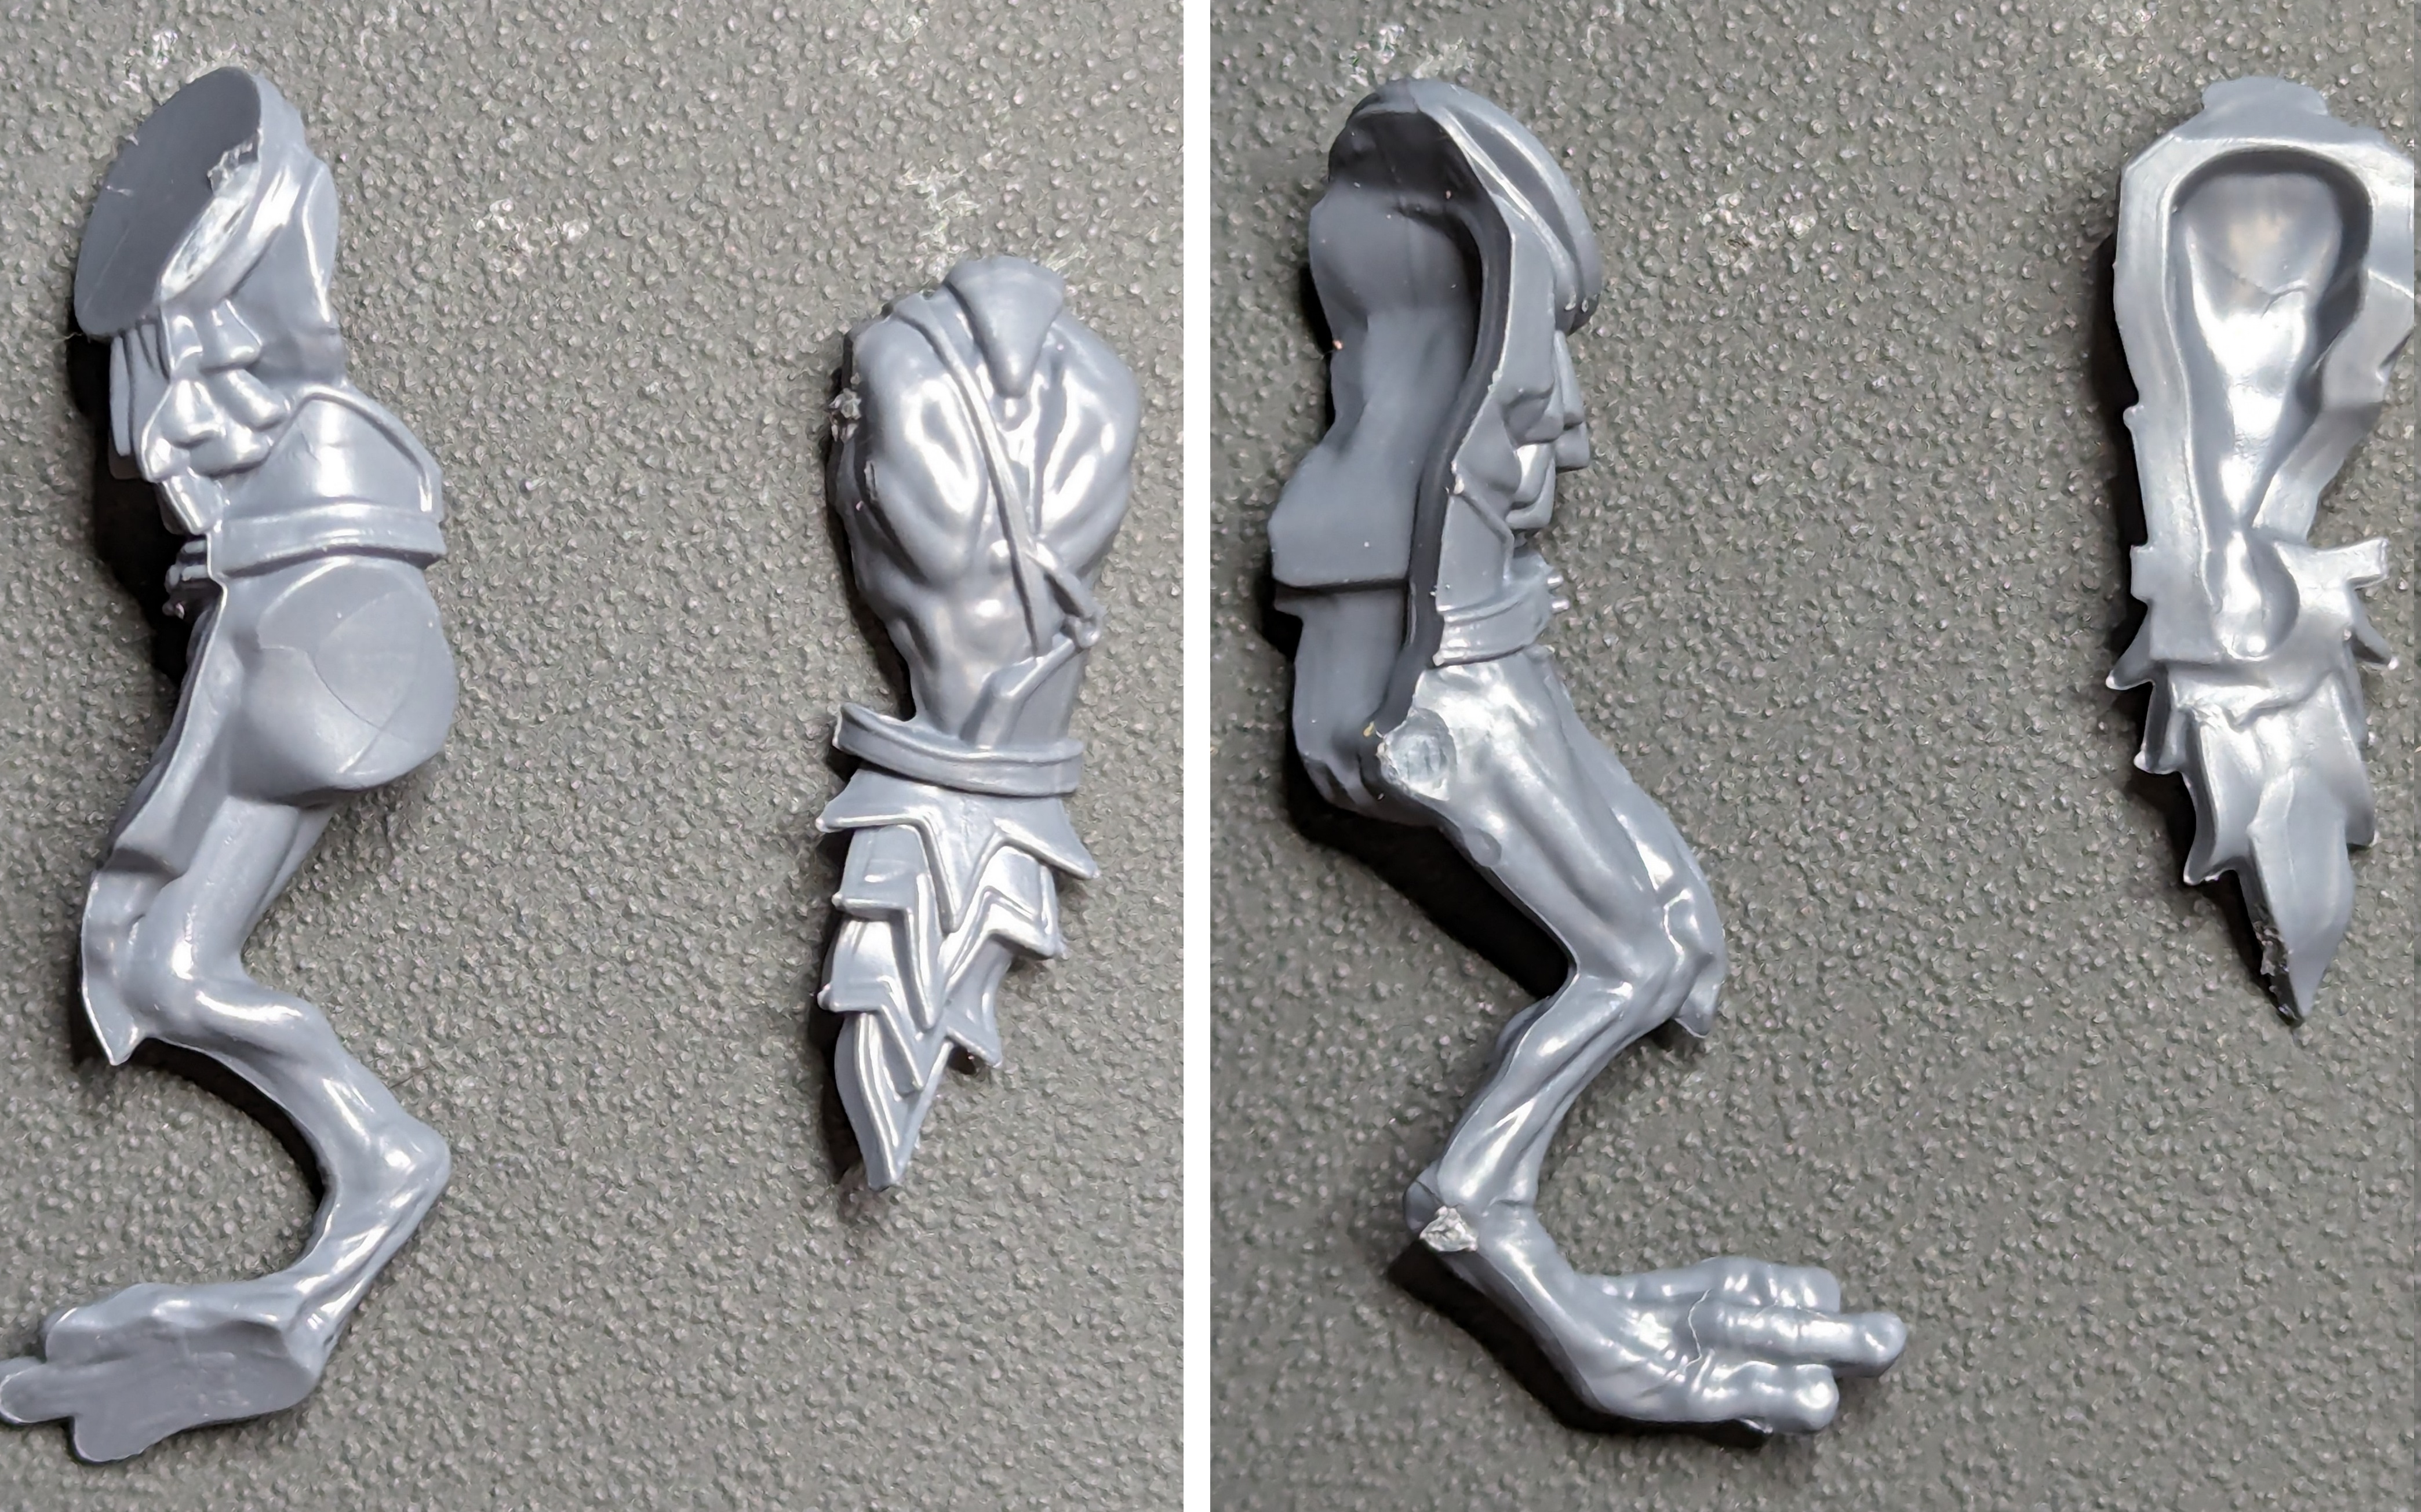
And that completes the Dambuster. Next is the rider
It is naturally much simpler, as there are only 11 total pieces (with some of them being variants) instead of the 28 pieces for the Dambuster.
B1 and B2 make up the body, with one half including a leg.
When I first looked at this, I figured I'd be able to just swap out this figure with others from the riverguard sprue for variety. However then I noticed the right foot is not flat - it is at a very specific angle. Why? To fit the spot on the saddle of the dambuster so that he precisely rides him. Now of course you may be able to ignore this spot and put your riders anywhere you like, but it is interesting that they did this.
B3 is a quiver of javelins, so is optional if you want it or not. ( I think I'm going to save this one for my riverguard models with javelins).
For the right arm, you have a choice between B4 (holding a trident), and B8 - B12 - which is a two piece arm holding a trident overhand.
The shoulder joint is fairly tricky - it isn't a simple flat joint, or even a ball joint. It is not quite flat, and then there is a very minor tooth in the shoulder intended for you to align the parts exactly. I'm lucky I didn't trim that off thinking it was just flash. Plus I have found that once I put plastic cement on either the arm or the body, it softens that piece up so much that (for me at least) I cannot feel the tooth and socket anymore. I'm not sure the reasoning for this - next time just make a flat join and let me angle the arm the way I want - which is what is going to be happening anyway. The wrist and arm are similar, but without the tooth. Either truly key the parts so that there is no way to accidentally put them together wrong, or just make them flat already.
Now the left arm has two variants - B6 and B9. I'm not sure why that gave two of these and if that variation matters at all, but it is there.
 |
| B6 is on the left, but it should be obvious because they are so different. |
I was going to say that these are flat joints, but once I removed them from the sprue and the light caught them, I could see these were not flat, but just barely. What is worse is the sprue connects on this joint - which would be find for actual FLAT joints, but not for slightly concave ones (if you want them to stay that way). Again, just make these flat, it would be much easier on everybody.
 |
| Can you tell which left arm I used? You have a 50% chance after all. |
B7 & B10 are the two left legs. Nice to have variants, if you could tell the difference. And the joints still initially look flat, but aren't. And the curvature is NOT enough to help with placement of the leg.
What I did, and what I recommend, is put the cement on the end of the leg you are attaching, then hold the right foot in place in the indentation on the dambuster shell, and move the leg into position so that it touches the saddle. Also do that BEFORE attaching the left arm, it is easier.
 |
| B7 on the left, B10 on the right |
The last two pieces are the heads, B5 and B11. THIS I like for having variety, because you can tell the difference! Both have feathers and caps. However I am going to steal one of the heads off of the riverguard sprue - the one with the little frog on the guys head (part D5 of the riverguard sprue) - I just love the frog-ception of a frog riding a frog riding a frog . . .
I then put the third dambuster together using the spitting head. I mixed the legs and arms up a bit more for variety, and it still works. I ended up with 1 sprue being completely intact EXCEPT for the body pieces (2 for the mount, 2 for the rider). The other one also has a large amount of bits left, which I like.
I was curious as to how these matched up against the older resin version. They are a bit smaller (which fits the bases better, as the resin one hangs over his base. I can see the older resin one being discontinued - you can now build the Riverguard Dambuster Sentinel from the Dambuster kit - pretty much a dambuster on a single base (as opposed to a regiment or horde base) will do. The exception there is the Pond Warden (I do wonder why they didn't make the Pond Warden a specific profile in the new army - they have the model with the League of Infamy after all) and the arbalest - both of which are a dambuster sprue plus resin pieces to upgrade it.

So overall very nice sculpts. The big toads go together very well, and have enough parts to make a large variety of models. Just the dambuster has I believe 24 variations (3 heads, and 2 of each appendage (ok, one of the heads is just for the shooting variant, but still). That would still make for plenty of different models.
The riders were a bit trickier - it sill be interesting to see if that carries on into the full infantry sprue or not. But that will have to wait for next time.
Because it is all fun and games . . .
(Thanks to Joe Ferry for pointing out to me that I had the Riverguard Dambusters and Treeleaper Dambusters reversed).


Again thanks for the in-depth look. Those look menacing enough for me (minus the frogs). Really nice output from mantic currently
ReplyDelete