First there were minis. Then there was a game for the minis. Then came the second game to use the same minis, but market it to board gamers. Then more minis, and the idea to redo the game to a full dungeon crawl, and just to make it better, add some plastic furniture (to make it better than the similar games that had come before). And then when they announced they were making doors people went nuts.
Ronnie looked at this and saw that it was good. He knew there was a market for plastic furniture and dungeon terrain - what he did not know is how big the market truly was. I remember when he announced his plan at Adepticon - he figured that there were only one or two DM's playing out of a given store - so this would be a direct only product. It went on to be probably the most widespread of any of their product lines - in stores that don't carry any of their miniature games you can still find Terrain Crate products.
Now they are expanding into RPG lines - coming out with modules that include maps and terrain (though they don't include the monsters you also need - it seems to me like they should at least have the 'recommended' monster sets for a given module). They have repackaged several of their board game miniatures for role-players, including some from Hellboy as well those from Dungeon Saga.
Back in the original Dungeon Saga kickstarter, there was a resin add-on for dungeon critters - basically some giant rats and giant spiders.
Not only that, but the Terrain Crate even sets even included the occasional small creature - say an owl familiar in a mage's stronghold.
Well bats and rats and spiders aren't quite enough for low level adventurers to battle against, which lead to the creation of the new
Dungeon Adventures Critters. What surprised me, and to me is a great thing to see, is they come on a hard plastic sprue! Why is this important? Hard plastic sprues are expensive to set up but very cheap to make - the molds run in the five figures to get made (while the individual sprues cost pennies to make), where resin molds are significantly cheaper to create, but much more expensive to make (and the lead-free pewter for metal minis is pretty much the most expensive material to make minis from). Because of the big up-front cost to the company, it only makes sense to make hard plastic sprues for things that they expect to sell a LOT of.
Enough of that - you want to see models, not hear me talk about business.
High quality hard plastic sprues. There are several single piece models, and a few others with a couple of pieces (and one that is not quite the easiest to assemble). Unfortunately Mantic is still not including any assembly instructions with their models (though if they did, what would I have to write about?).
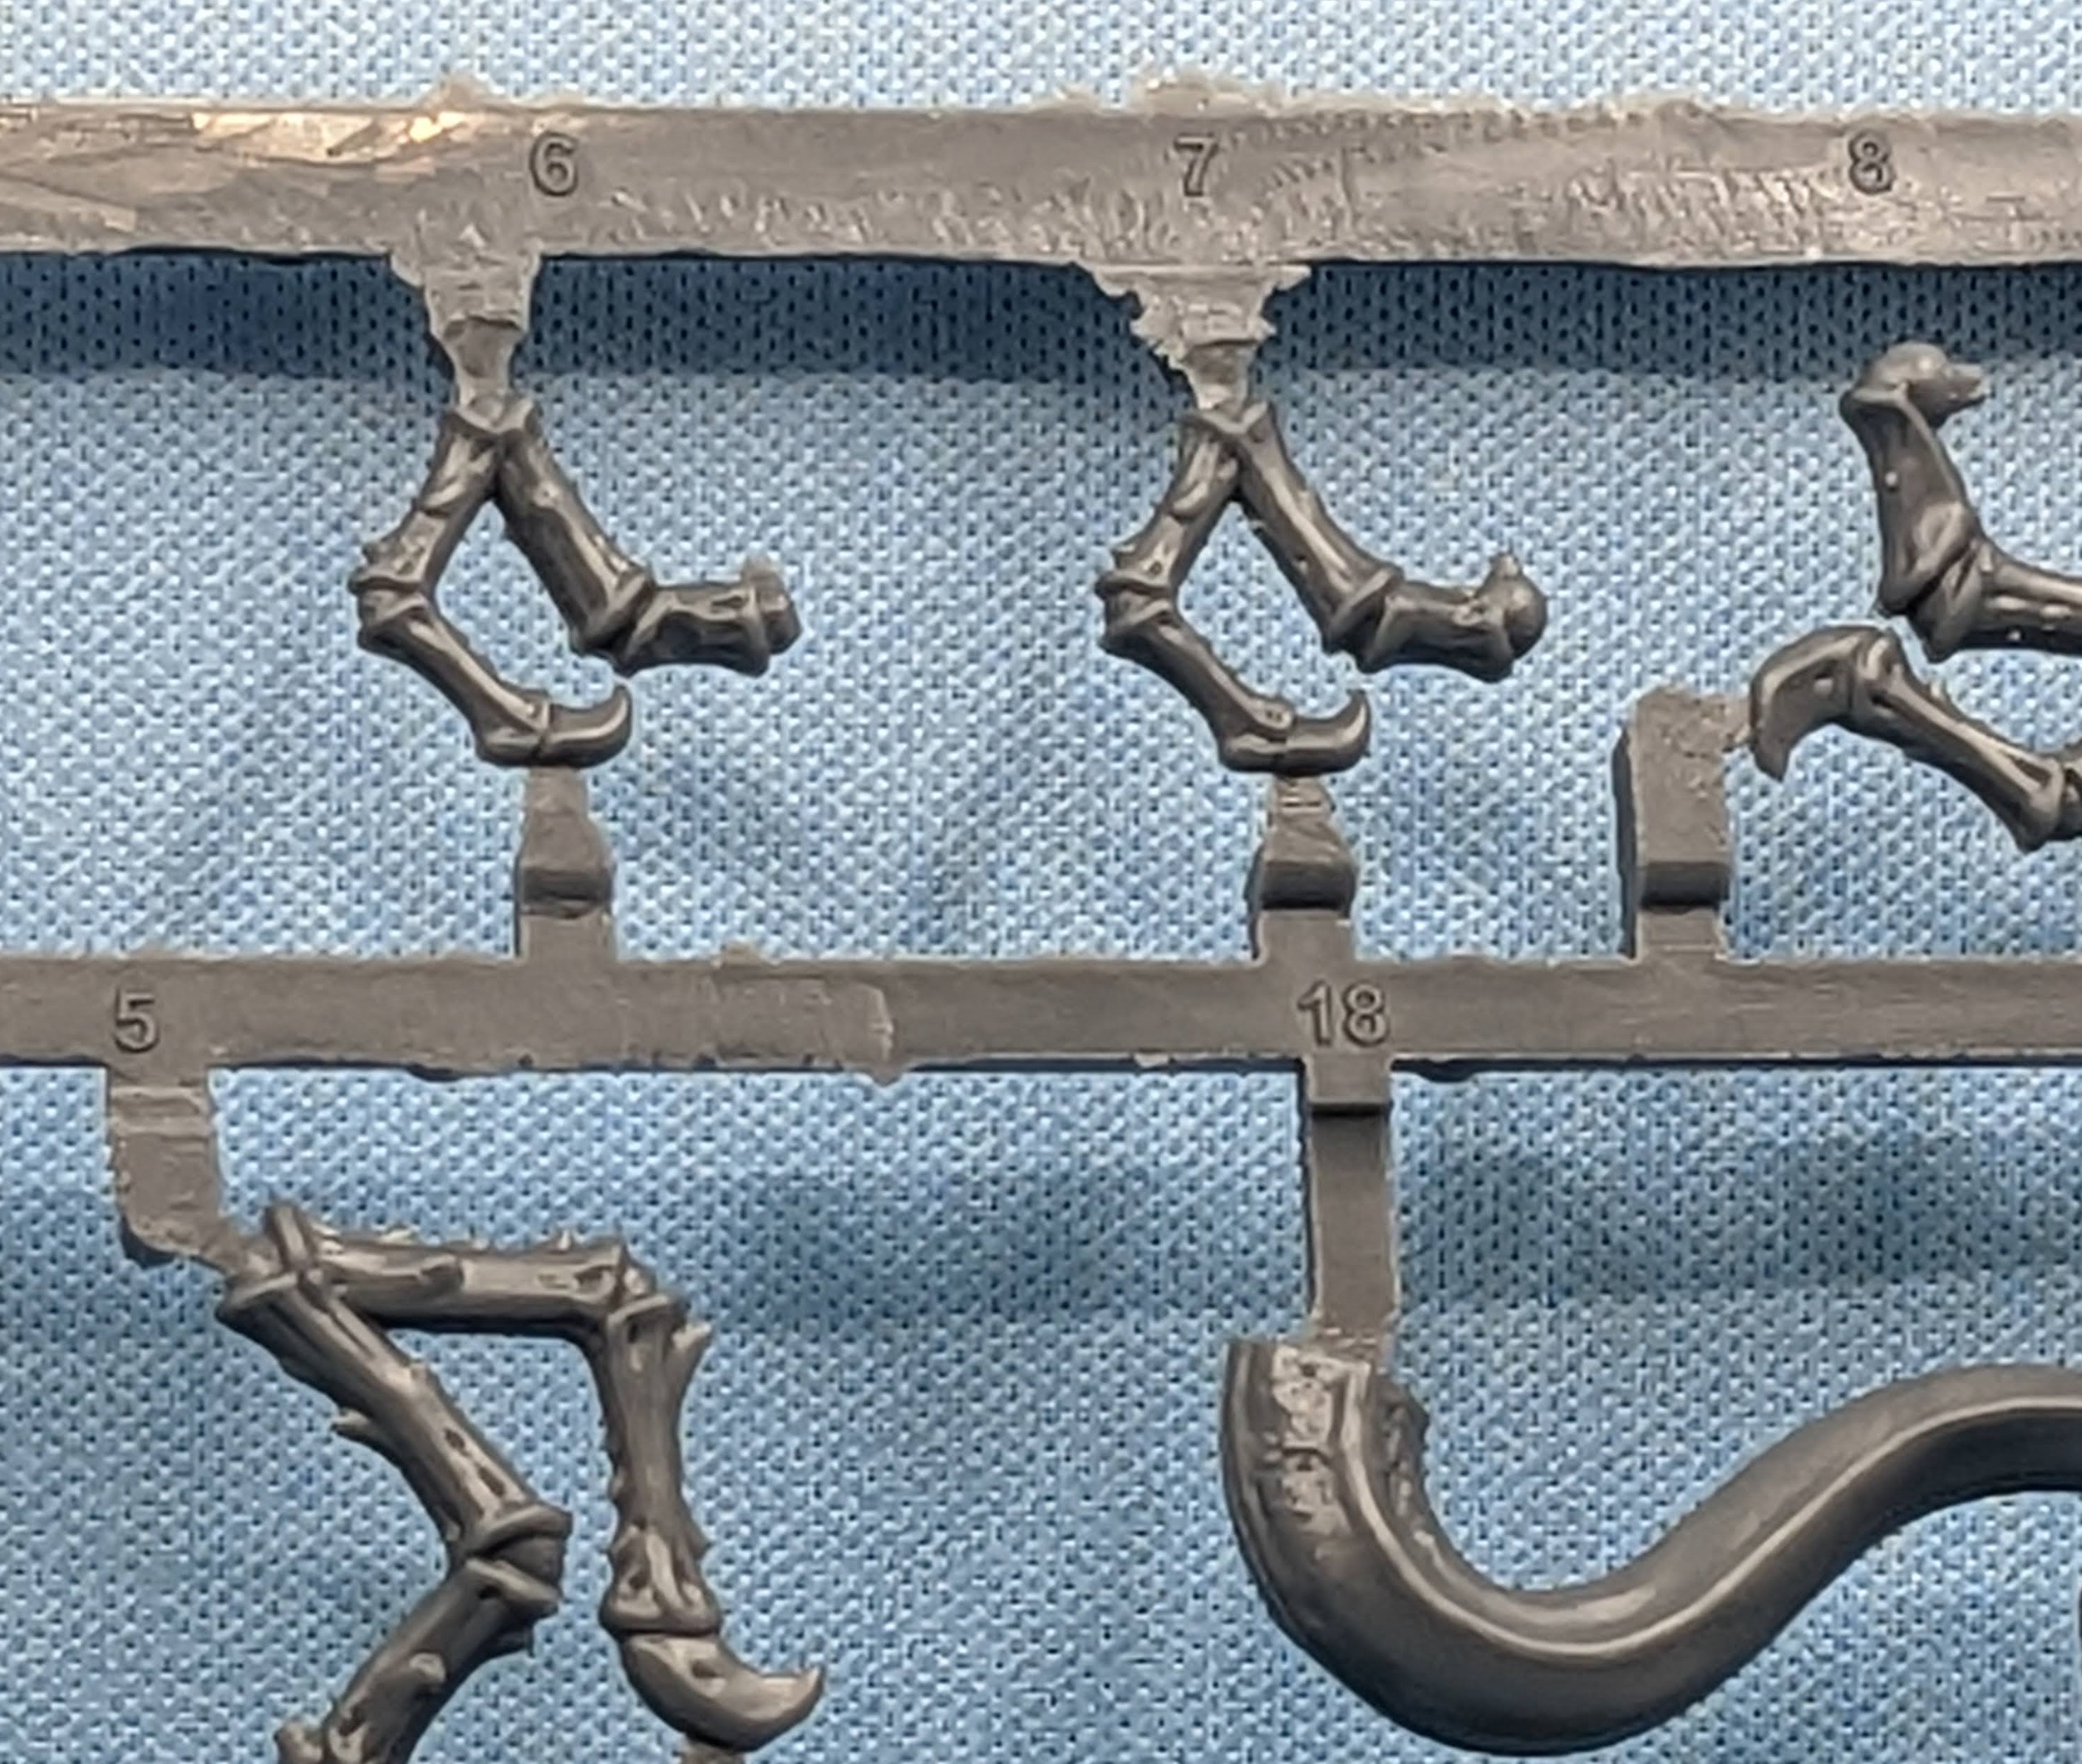
One thing they did do to make things a little easier is every bit on the sprue is sequentially numbered - and for a given model all the parts are numbered in sequence.
So let's put them together. The first, and most complex model is the
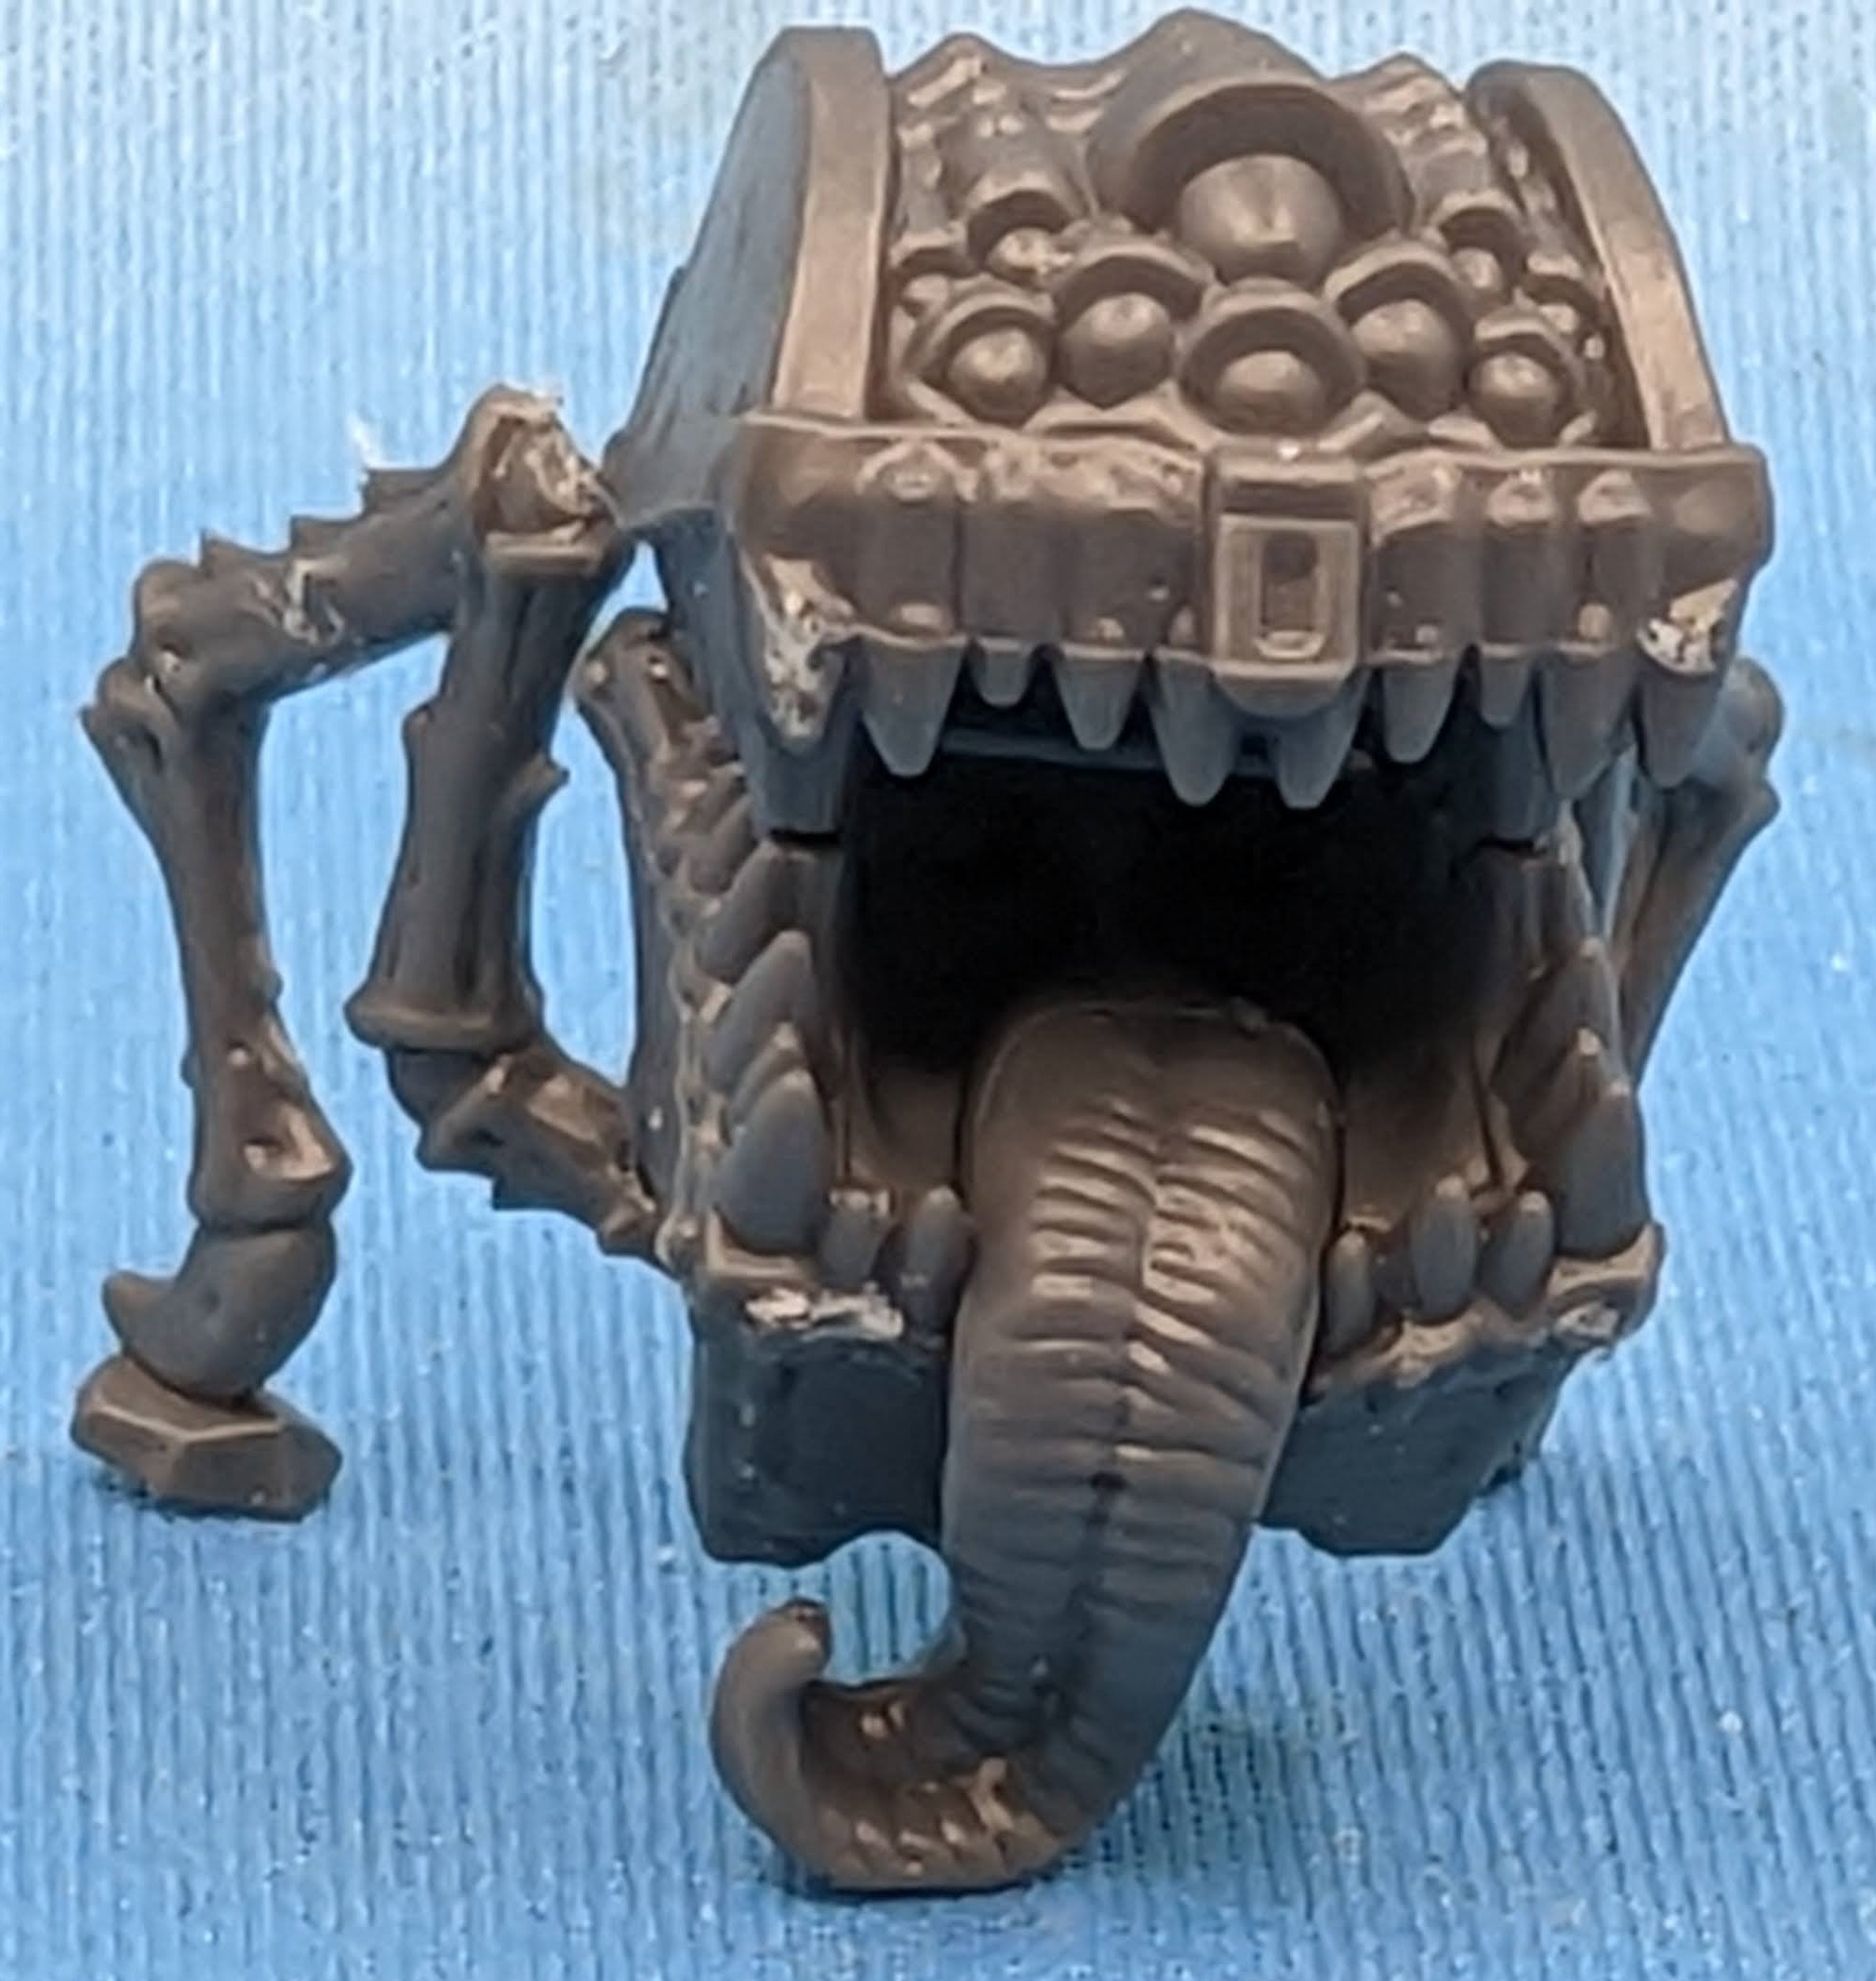
Mimic 'Perfectly Normal Treasure Chest'. This uses pieces 1-9.
.
It took me more than once to actually get this figured out - I kept wanting to attack the legs via the knees, and missed the way that they actually fit fairly nicely in place if done correctly.
I started by gluing the two halves (#1 & #2) of the chest together - the teeth fit nicely.
However trying the second one, it is actually easier to glue the tongue (#9) to the bottom of the chest (#2) first. Why? Because the bottom of the tongue is actually flat, and intended to sit on the base to provide stability. I missed this completely with the first one I put together, and struggled to get it to balance on the legs. Also it is easier to glue the tongue in place before attaching the top half.
Maybe it is even easier to assemble the chest last - only having two I didn't try that.
Regardless, look at the bottom of the chest. There are six holes in it, where the legs fit. If you look real closely you can even see tiny divots inside the holes as well. Plus there are shallow grooves going from these holes to the outside of the model. These are all meant as guides to fit the legs into place.
The legs all have a claw on one end, and a ball on the end that attaches to the body, with a tooth that fits into the hole. The leg itself sits in the groove. The only thing that would have made this easier would be for these to have been numbered (in the groove - trying to put it in the hold doesn't work (as anyone who has attempted to put together Mantic's resin
Nightstalker Fiends will know).
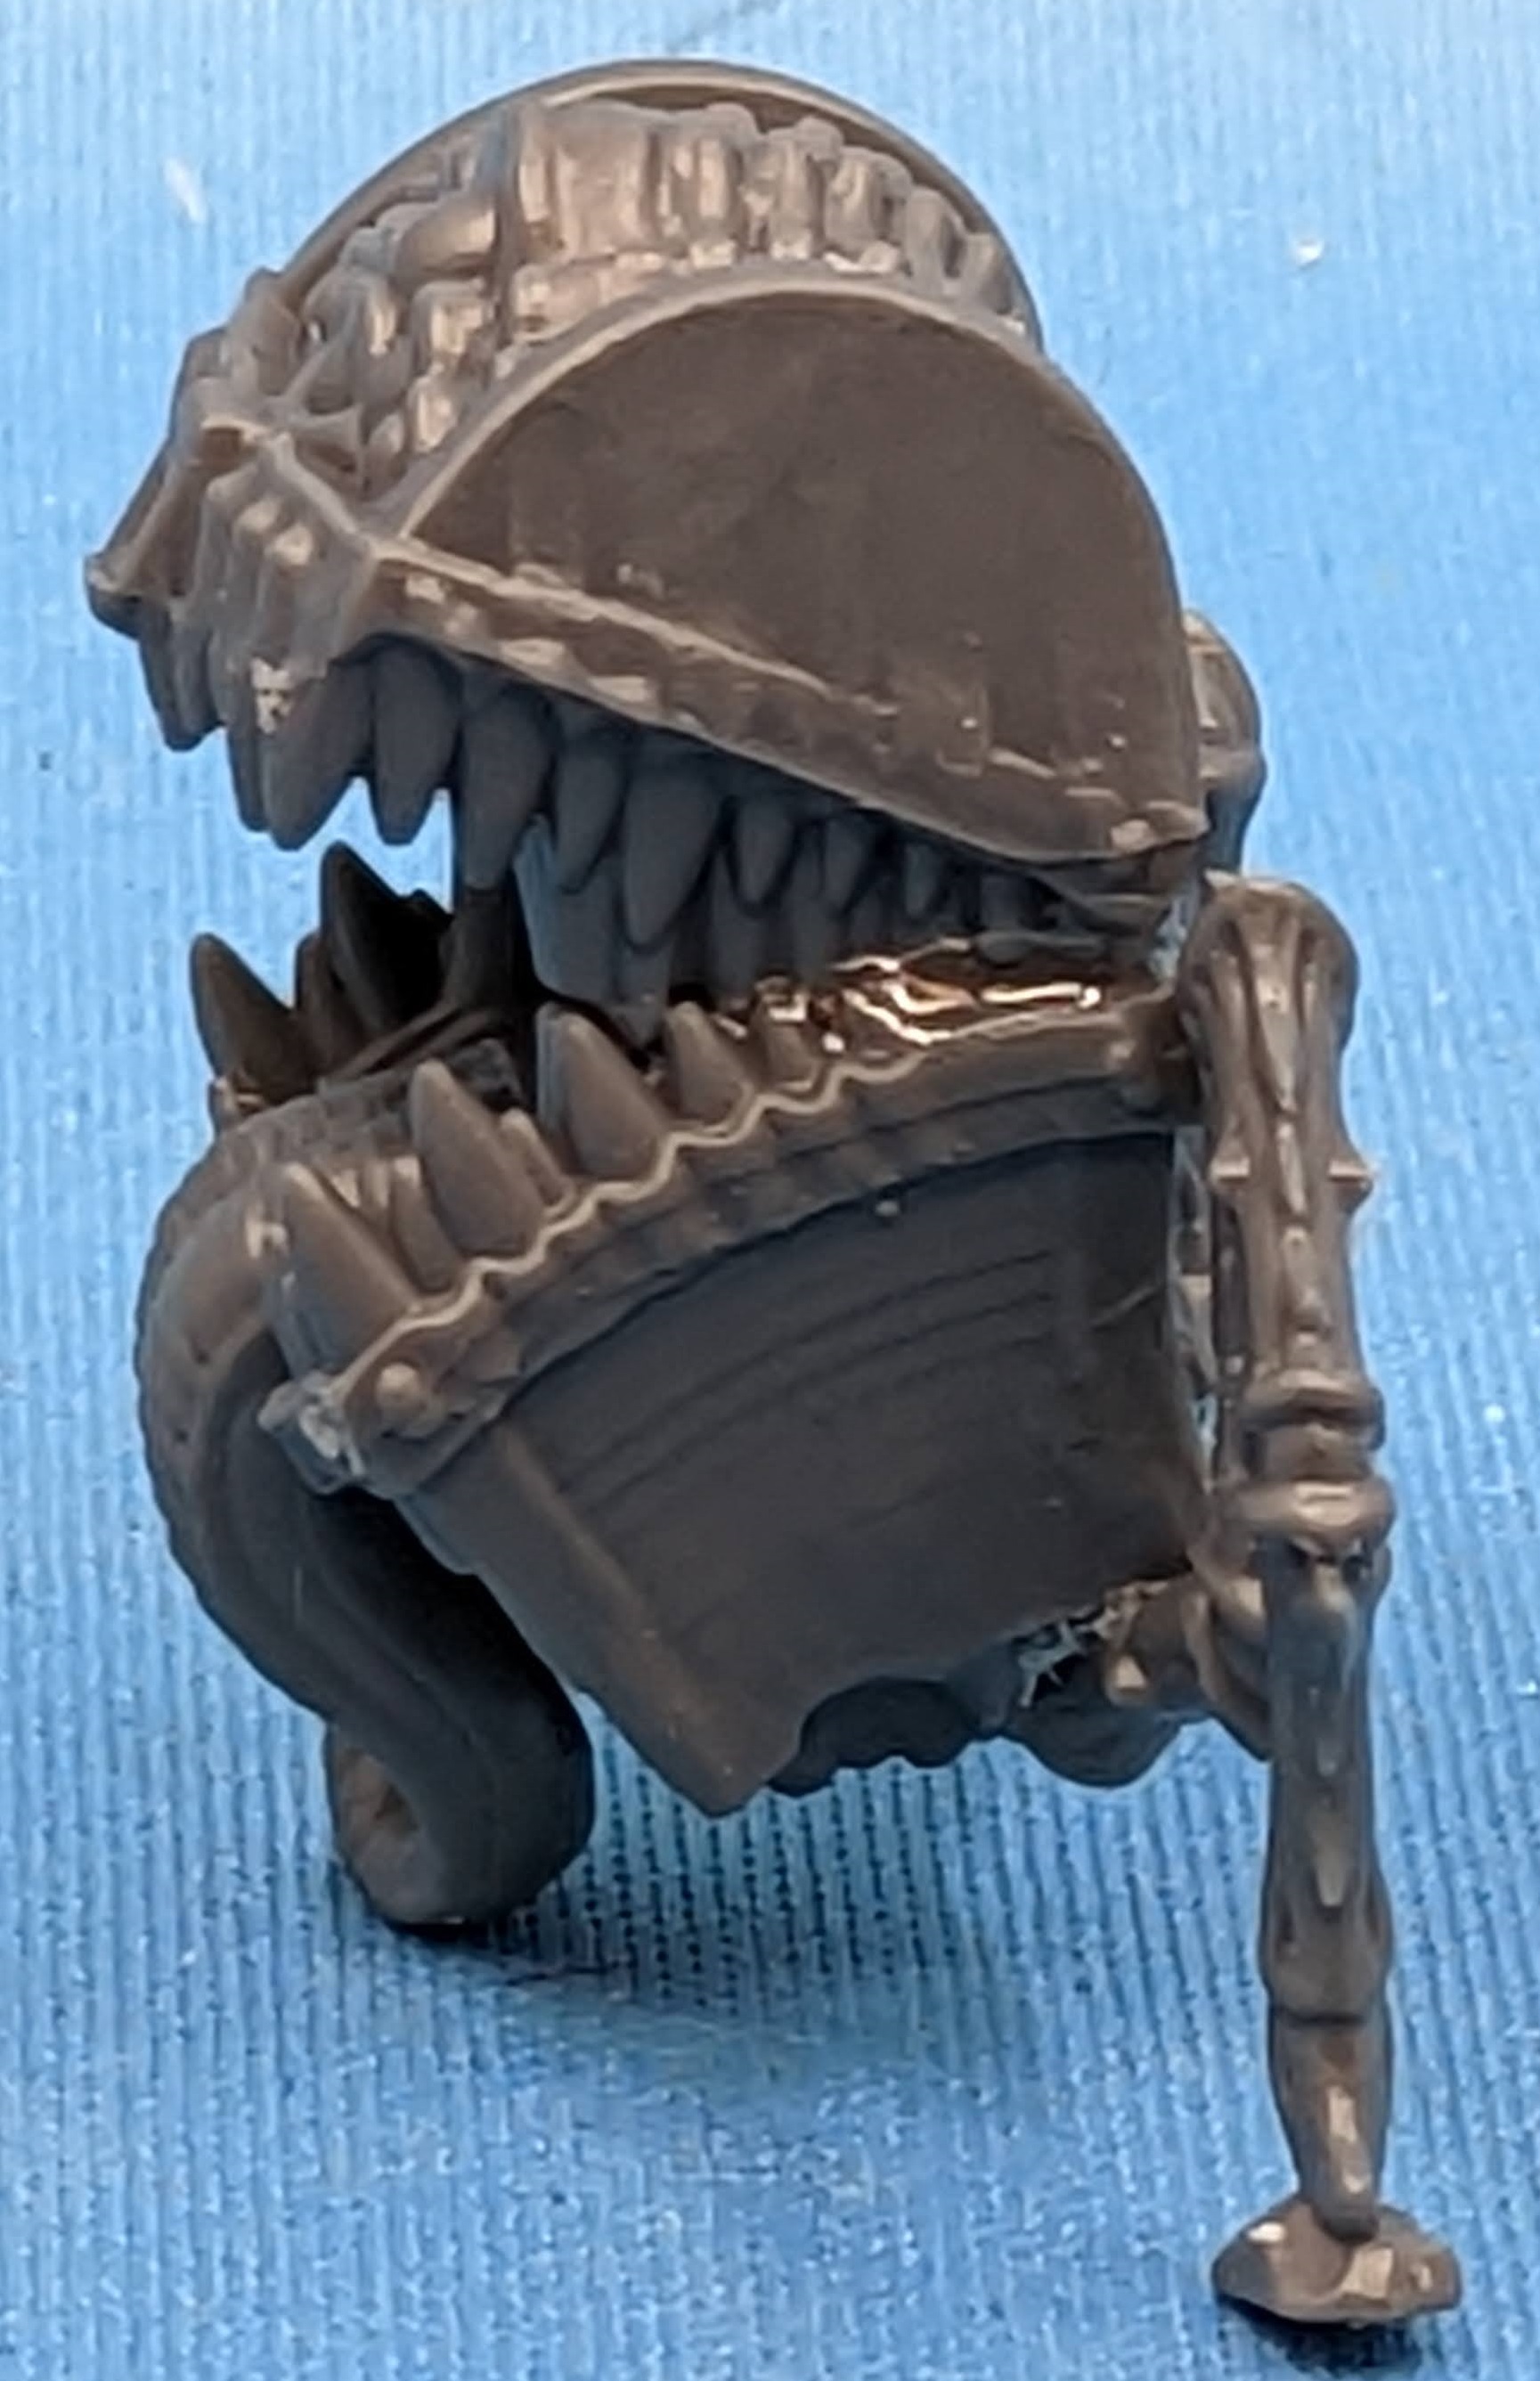
Now for the beauty of hard plastic models. You assemble them with plastic cement. This actually melts the plastic and takes several minutes (or longer) to set - giving you lots of working time (plus they are sticky so they will quickly hold in place). So if you decide (like I did on my first version) to ignore the way they made it easy to put together, you can reposition them as you please.
As you can see, I managed to completely ignore the guides, so I had to work to get the legs positioned to actually hold the model up.
If you instead place the legs in the grooves, the model stands from the first leg (with the rock on the claw), balancing on the flat spot on the tongue.
Legs 3 & 4 go in the largest holes towards the back, 5 & 6 are the middle legs, and 7 & 8 are the smaller ones fitting in the front.
 |
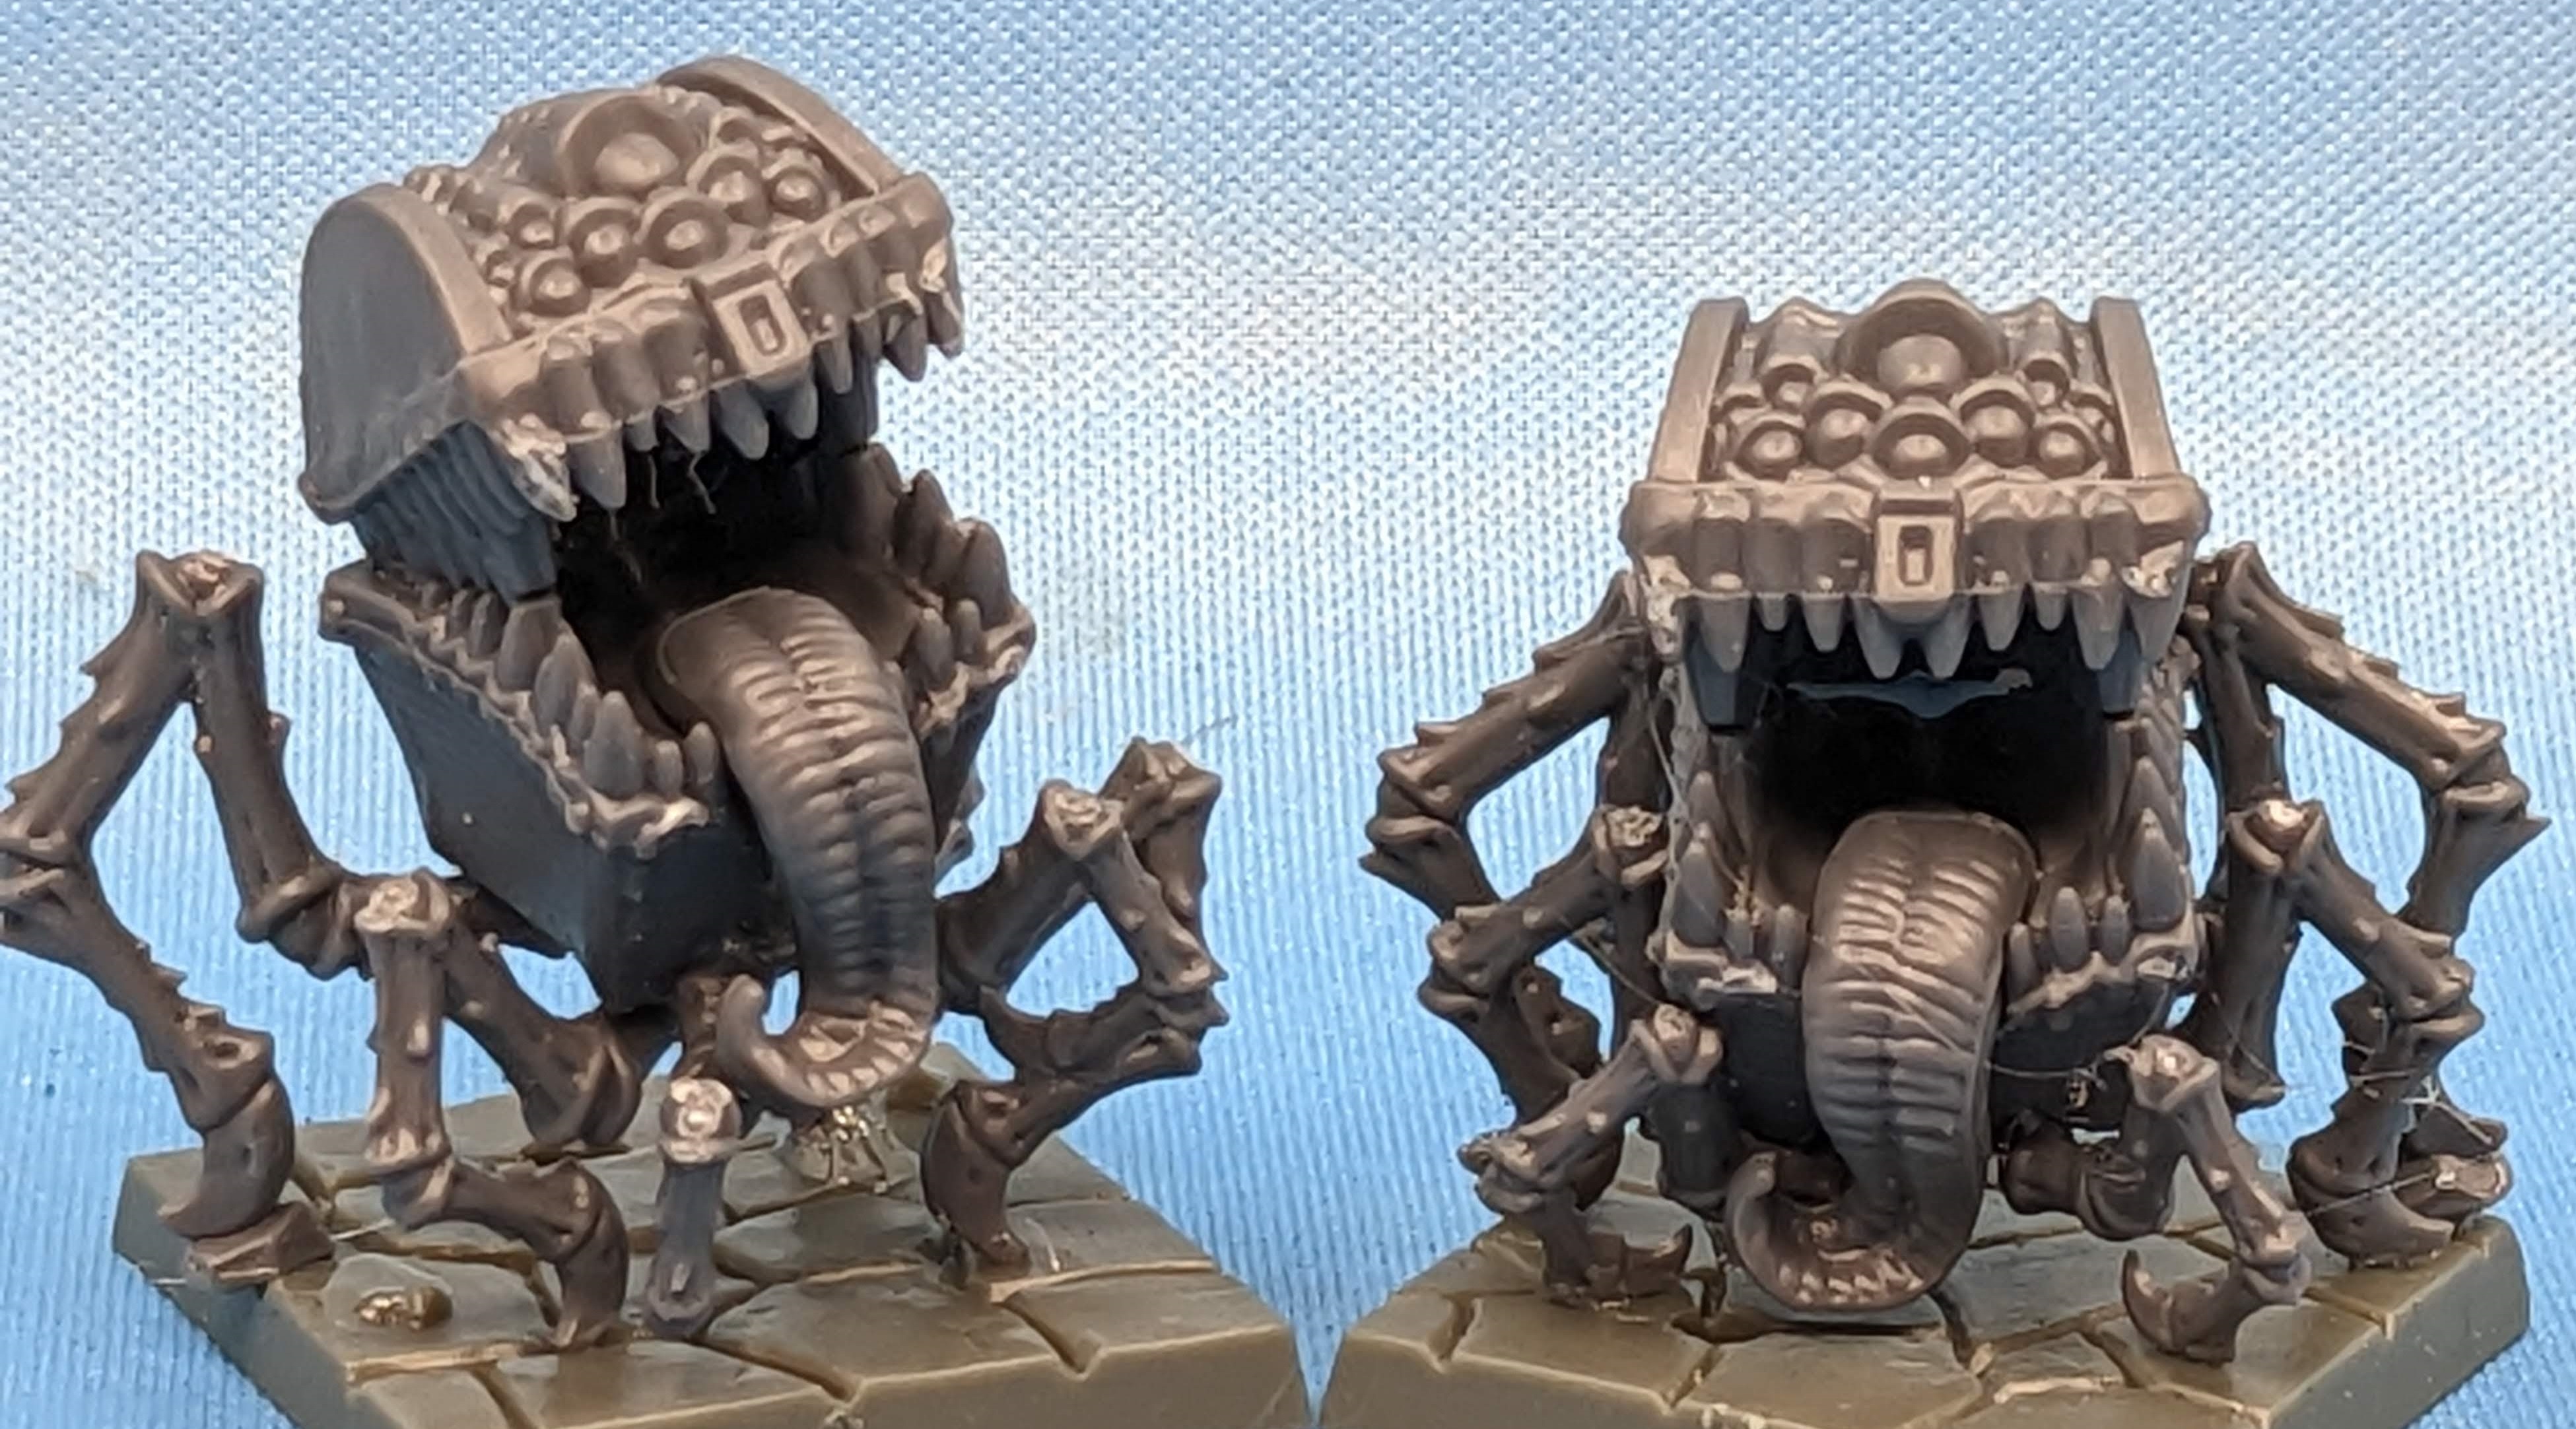
| Still didn't quite get them right, but much better. |
The best part, is this is an abomination of nature, a foul creature with all sort sorts of variety. So even though I utterly failed to use the guides provided for the legs, I still have a very usable model - maybe even better as it is a variation.
So it just goes to show there is more than one way to assemble a model (there is the right way, and a near infinite number of wrong ways - but a lot of them will still work).
To be perfectly honest, I expected putting these together to be super quick - I thought it would take about half the time I spent just on this one (admittedly the most complex) model.
Eventually you can move on. Bits 10 & 11 are simply halves of giant rats - even I can't screw up putting them together.
The giant scorpion is from bits 12 & 13 - just glue the tail onto the rear arcing over the back.
The giant spider is bit 14 - no assembly required (other than gluing to a base)
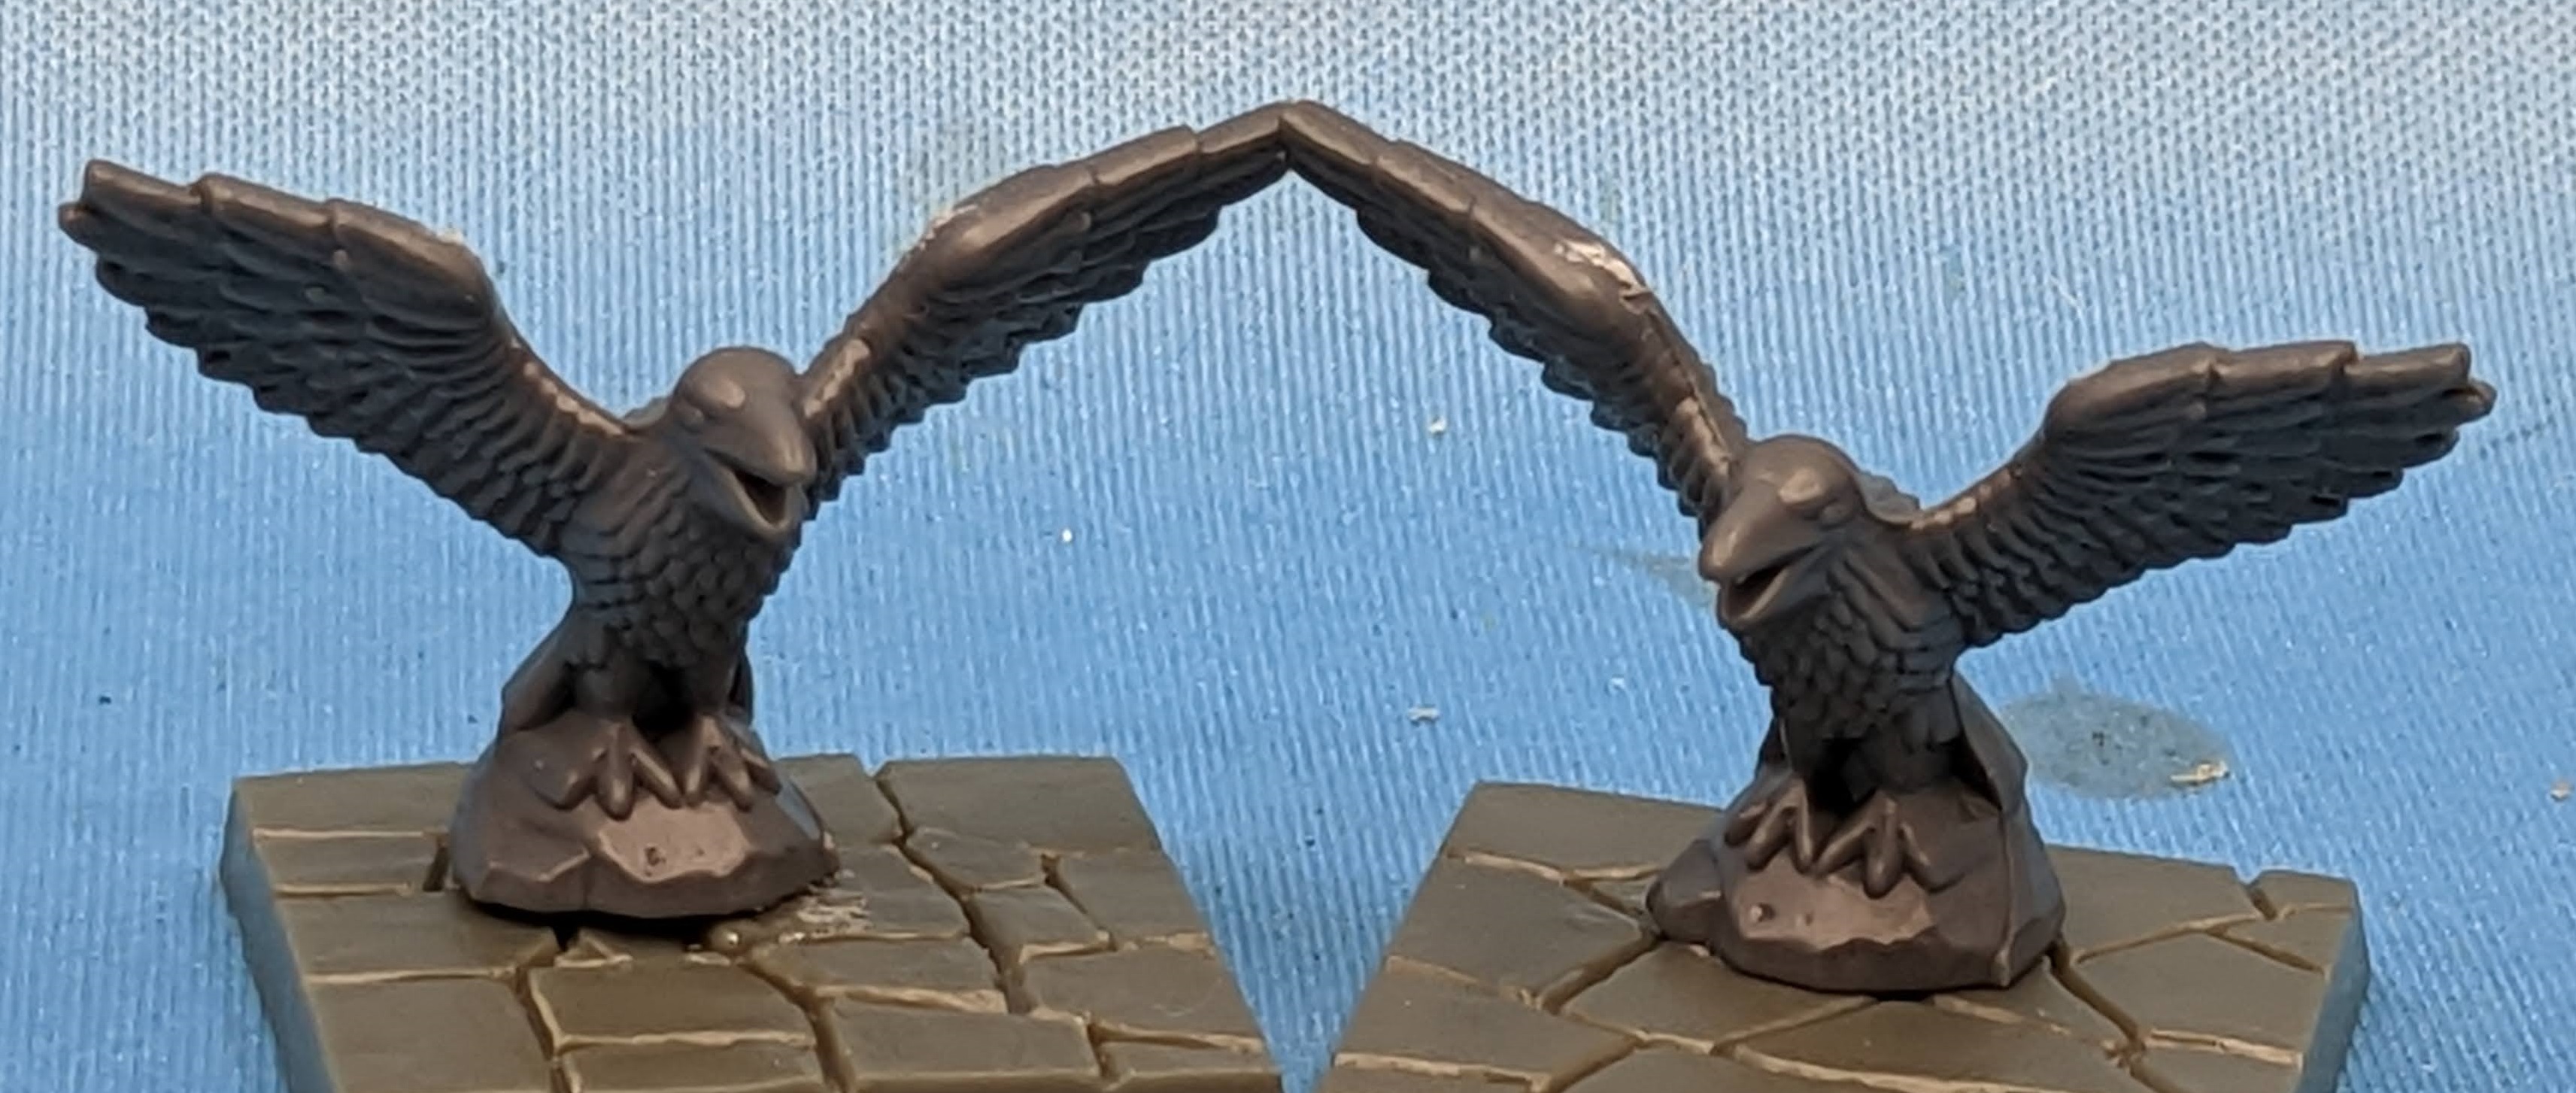
Bits 15 and 16 are the body and head of the vulture - several of these could be used for Empire of Dust Carrion (mixed with the new, easy to assemble resin
Plague Murderbirds (if you have any of the rare metal ones that included some very difficult to assemble models - you can use the same assembly guide I did
here )
The raven is bit 17 - I think I'll call mine
Jessamy and Matthew
The giant lizard (really - giant? Big sure - but this is a
giant lizard) is six bits - #18 - 23. The legs each only really fit in one place and are fairly obvious which is which. I recommend gluing the tail on last, but it isn't critical for the order.
The owl (bit #24) is very similar to the one in the
wizards study, but is perched on a branch instead of table.
The bat swarm (# 27 ) is the same model as released with the Vanguard Undead booster, except one piece and in plastic. So you can't assemble it wrong (
like I did)
Finally # 28 & # 29 are snake and insect swarms. These would also be good to add variety to your Empire of Dust
swarms, though some work would be needed to hide the round built-in bases
So you get 2 each of 11 different models to challenge low level adventurers, or maybe to add to Kings of War units. Being hard plastic they are easy to convert.
Because it is all fun and games . . .


Comments
Post a Comment