So it was six years ago (give a month or so) when I was excited to get the brand new Empire of Dust mega-army set ( From Dust They Arise ), but it took me 10 months to finally get it painted and ready for Gencon 2017 ( The Empire (of Dust) Strikes Back ).
Well the brand new NO METAL version of the Empire of Dust army is currently being released. I pre-ordered another mega army, expecting to arrive via Royal Mail (as a side note - I understand the change to free shipping - however if we have to pay for shipping - can we at least be able to pay for the upgrade to courier shipping? I'll gladly pay for the FedEx upgrade to get it in two days vs Royal Mail for two weeks). So I was pleasantly surprised when it showed up last week - the Thursday before Gencon.
I have actually FINALLY gotten back into somewhat of a groove with painting - I have finished my new demo armies for both Halflings and RiftForged Orcs, and even plan to have several new Coral Giants for my Trident Realm army ready for Sword of Kings over labor day (the first weekend in September) (plus some frogs from Hellboy). (Yes, I need to post pictures of those, plus the Knucker I just added to my Trident Realm demo army).
So last time it took me 10 months - could I paint up a mega army in 6 days (I will have to be packing and driving on Wednesday, so it has to be done by Tuesday night). Well, it actually isn't the entire box, but I do want to add some cavalry to my demo army, and get rid of the awful metal/plastic hybrid models.
Ok, let me elaborate a bit there. I remember back in the before times, when the first Uncharted Empires came out to help refugees from the old world transition to a new, better rank & flank experience. When the Tom Kings were 'squatted' (though can we still use that as a term, since I hear that Squats are back in 40K?) Mantic quickly sculpted metal conversion bits for their existing skeleton range. It was a great way to get something out quickly, and I liked the look of the models.
However if you have ever had to assemble metal/plastic hybrid models (old Abyssal Dwarf, Twilight Kin, Empire of Dust) they are more 'challenging' to put together, and even worse for staying together. Now I'm used to having to do repairs to my demo armies - it is just part of having demo armies (Undead are the first 'real' demo army I did, back in 2013) (using my Abyssal Dwarfs, which date back to 2012 before Kings of War 1st edition even came out, doesn't count). However the Empire of Dust has required more repairs than ALL other armies combined. Some of the metal bows have been attached 3 or 4 times. Last year when packing for Gencon, I dropped a couple of army boxes. The top two had a few models that needed fixing - the EoD practically exploded (and I never did find one of the arms for the Cursed High Priest). I was just really looking forward to them not falling apart all the time, as well as showing off the new models.
I'd figured out a new list - replacing the horde of skeleton spearmen with a regiment, removing the revenant regiment and the desert swarm and standard bearer. Then adding in a troop of revenant cavalry, a troop of skeleton archer cavalry and a revenant champion on horseback. The regiment of spearmen and regiment of archers would be replaced with the new plastic versions. I hadn't planned on replacing the enslaved guardian archers, until I saw the difference, so those metal models would be swapped out as well.
The only thing from my old version left was the cursed high priest (with a new arm!) and a regiment of mummies. However the mummies are soon to be gone as the demo needs some chariots! (C'mon - does anyone field EoD without any Chariots?).
Six days - all I truly HAD to finish before then was the two troops of cavalry and the mounted character. The rest is just gravy. Luckily I had last Thursday and Friday off work as well.
But I know you are here to see pictures of the new models.
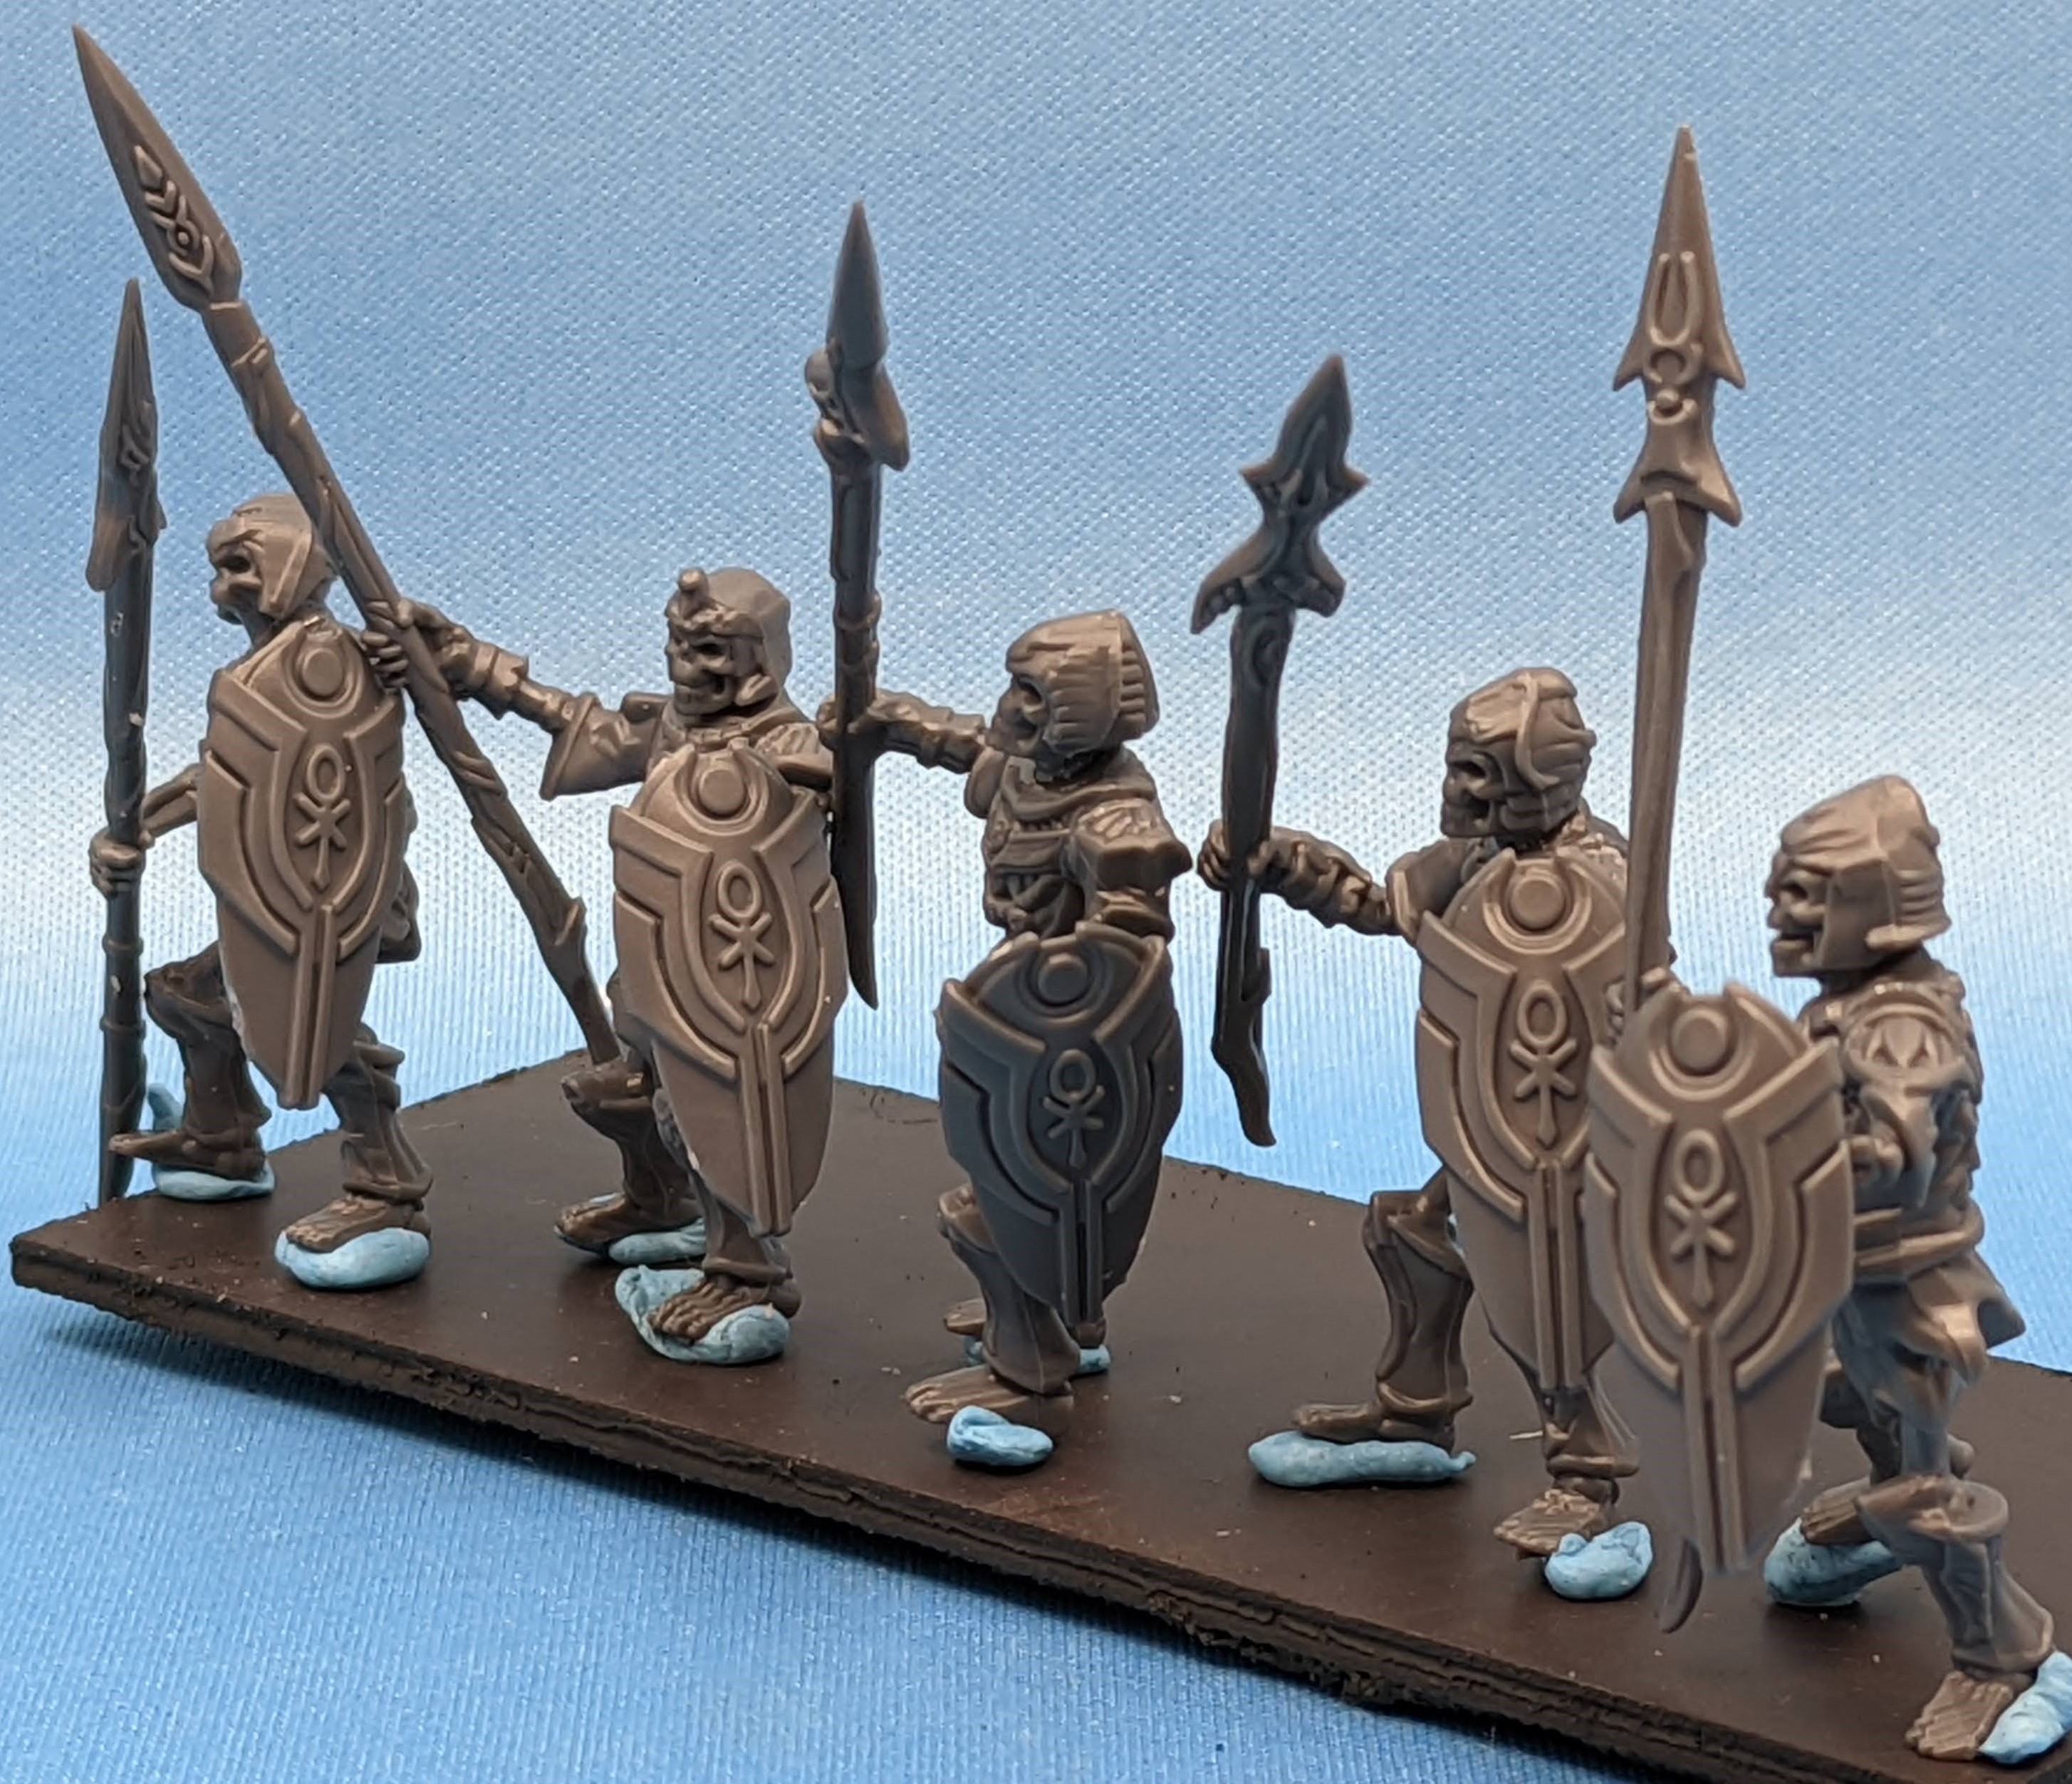
The first is the brand new skeleton sprue. When I first opened these, it appeared to me that there was just two copies of the same sprue. But there were pictures of a naked skull on the box and web site - and the sprue did not have one. Did they use an old skeleton skull? Then I noticed the writing at the top - 2 of 2. Looking at the sprues, I then found 1 of 2, and there was the bare skull. The ONLY difference between the sprues are the heads - sprue 1 has 7 heads, while sprue 2 has 6 (for a total of 13 different heads for 10 models).
The sprues make 10 models - Skeleton Warriors (sword & board), Skeleton Spearmen and Skeleton Archers. It is great that there are enough pieces to make ALL warriors or ALL spearmen or ALL archers.
I figure people are here to see new models, see how to build some of the models since Mantic does not include instructions, and see all the mistakes I tend to make putting them together (so you don't have to make them).
Were I to make more, I would glue the left arms to the back of the shields, buy wait to attach them until after I had painted them, as it is ALWAYS difficult to get the inside of the shield. Plus I could have based them in the blue instead of the gold that I did for the skeleton bodies (as the armor makes up the majority of the body) (there is actually much less exposed bone than I would have preferred for skeletons).
Like most plastics, these are straightforward to assemble. However, if you are making an army, I would recommend a little pre-planning first. Some of the bodies work better for archers, others for warriors/spearmen.
Specifically, the two bodies on either end (1st and 5th, regardless of which end you start counting from) are better as archers, as they are slightly bent back. The other three are standing straighter, so make better warriors/spearmen.
Also, there are a couple of the bow arms that connect straight out from the body - these work very well with the bent bodies, as they then appear to be bending back as they shoot their arrows skyward. (of course while I was thinking about this, did I bother to actually take some pictures of individual models - of COURSE NOT. But then I was a little busy the past few days). Also always add the heads after the arms, so you can be sure they are facing the way they are shooting (since two of the bodies are shooting to the side based on the way the feet are placed).
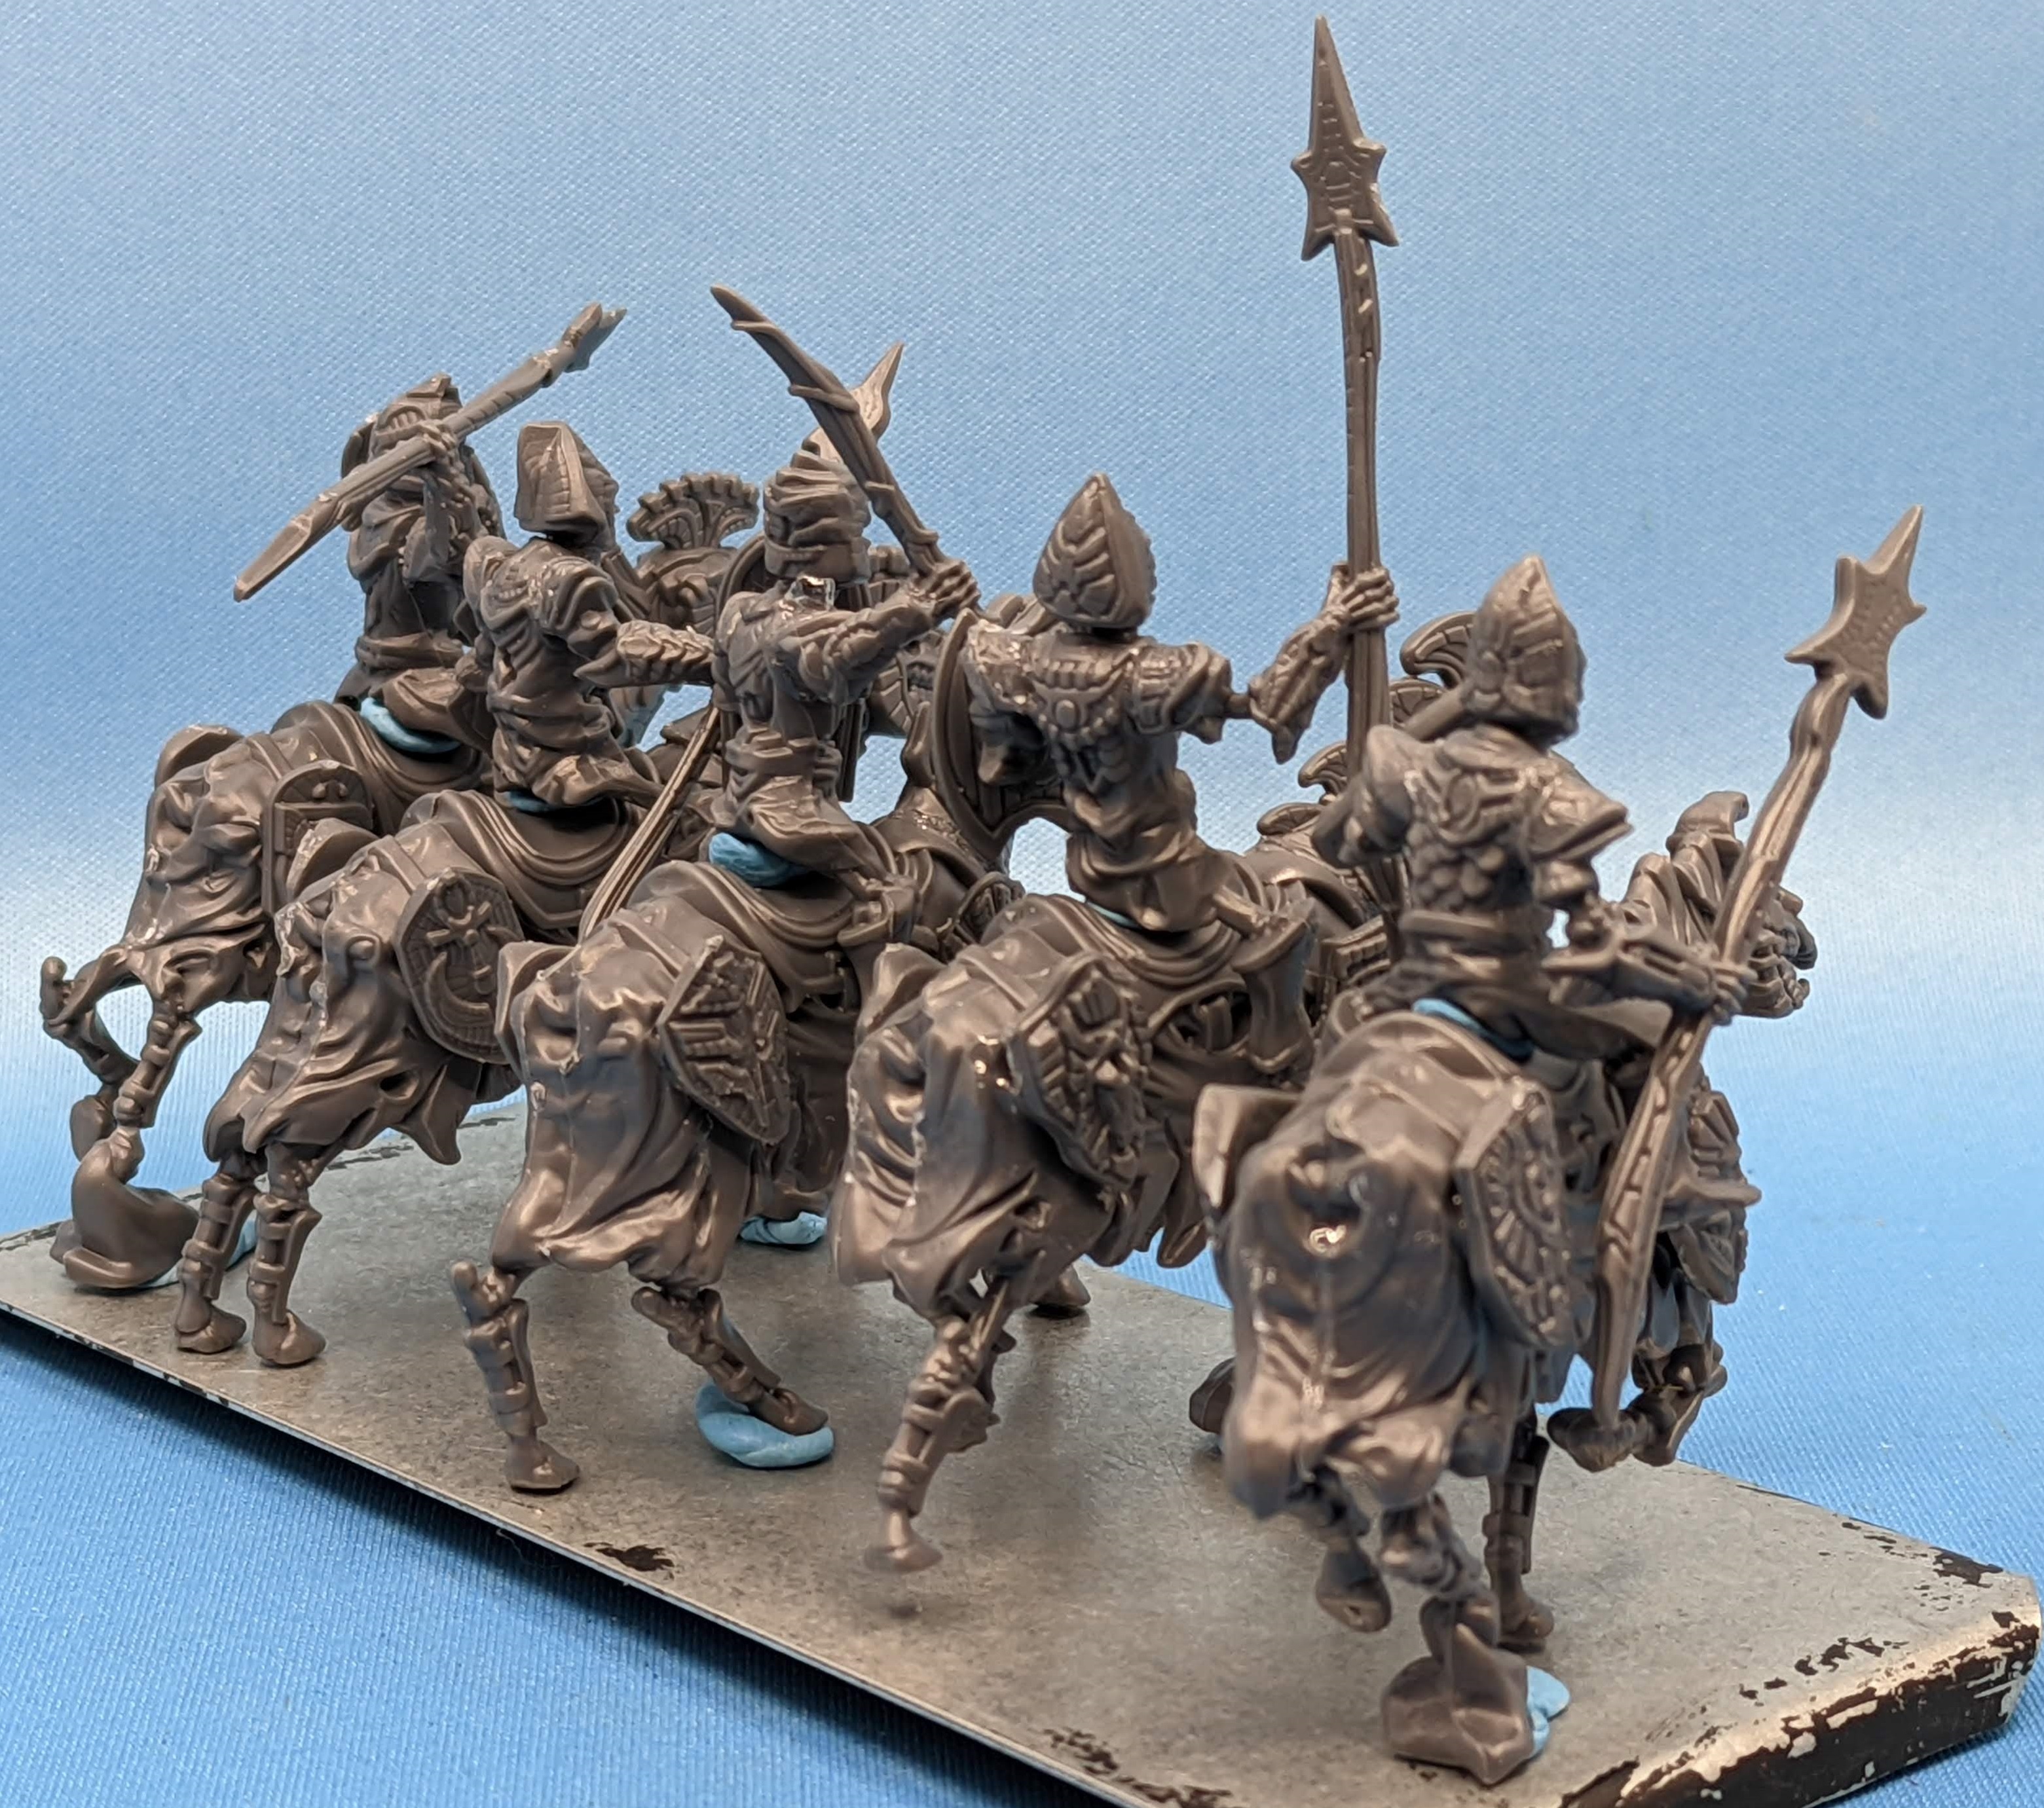
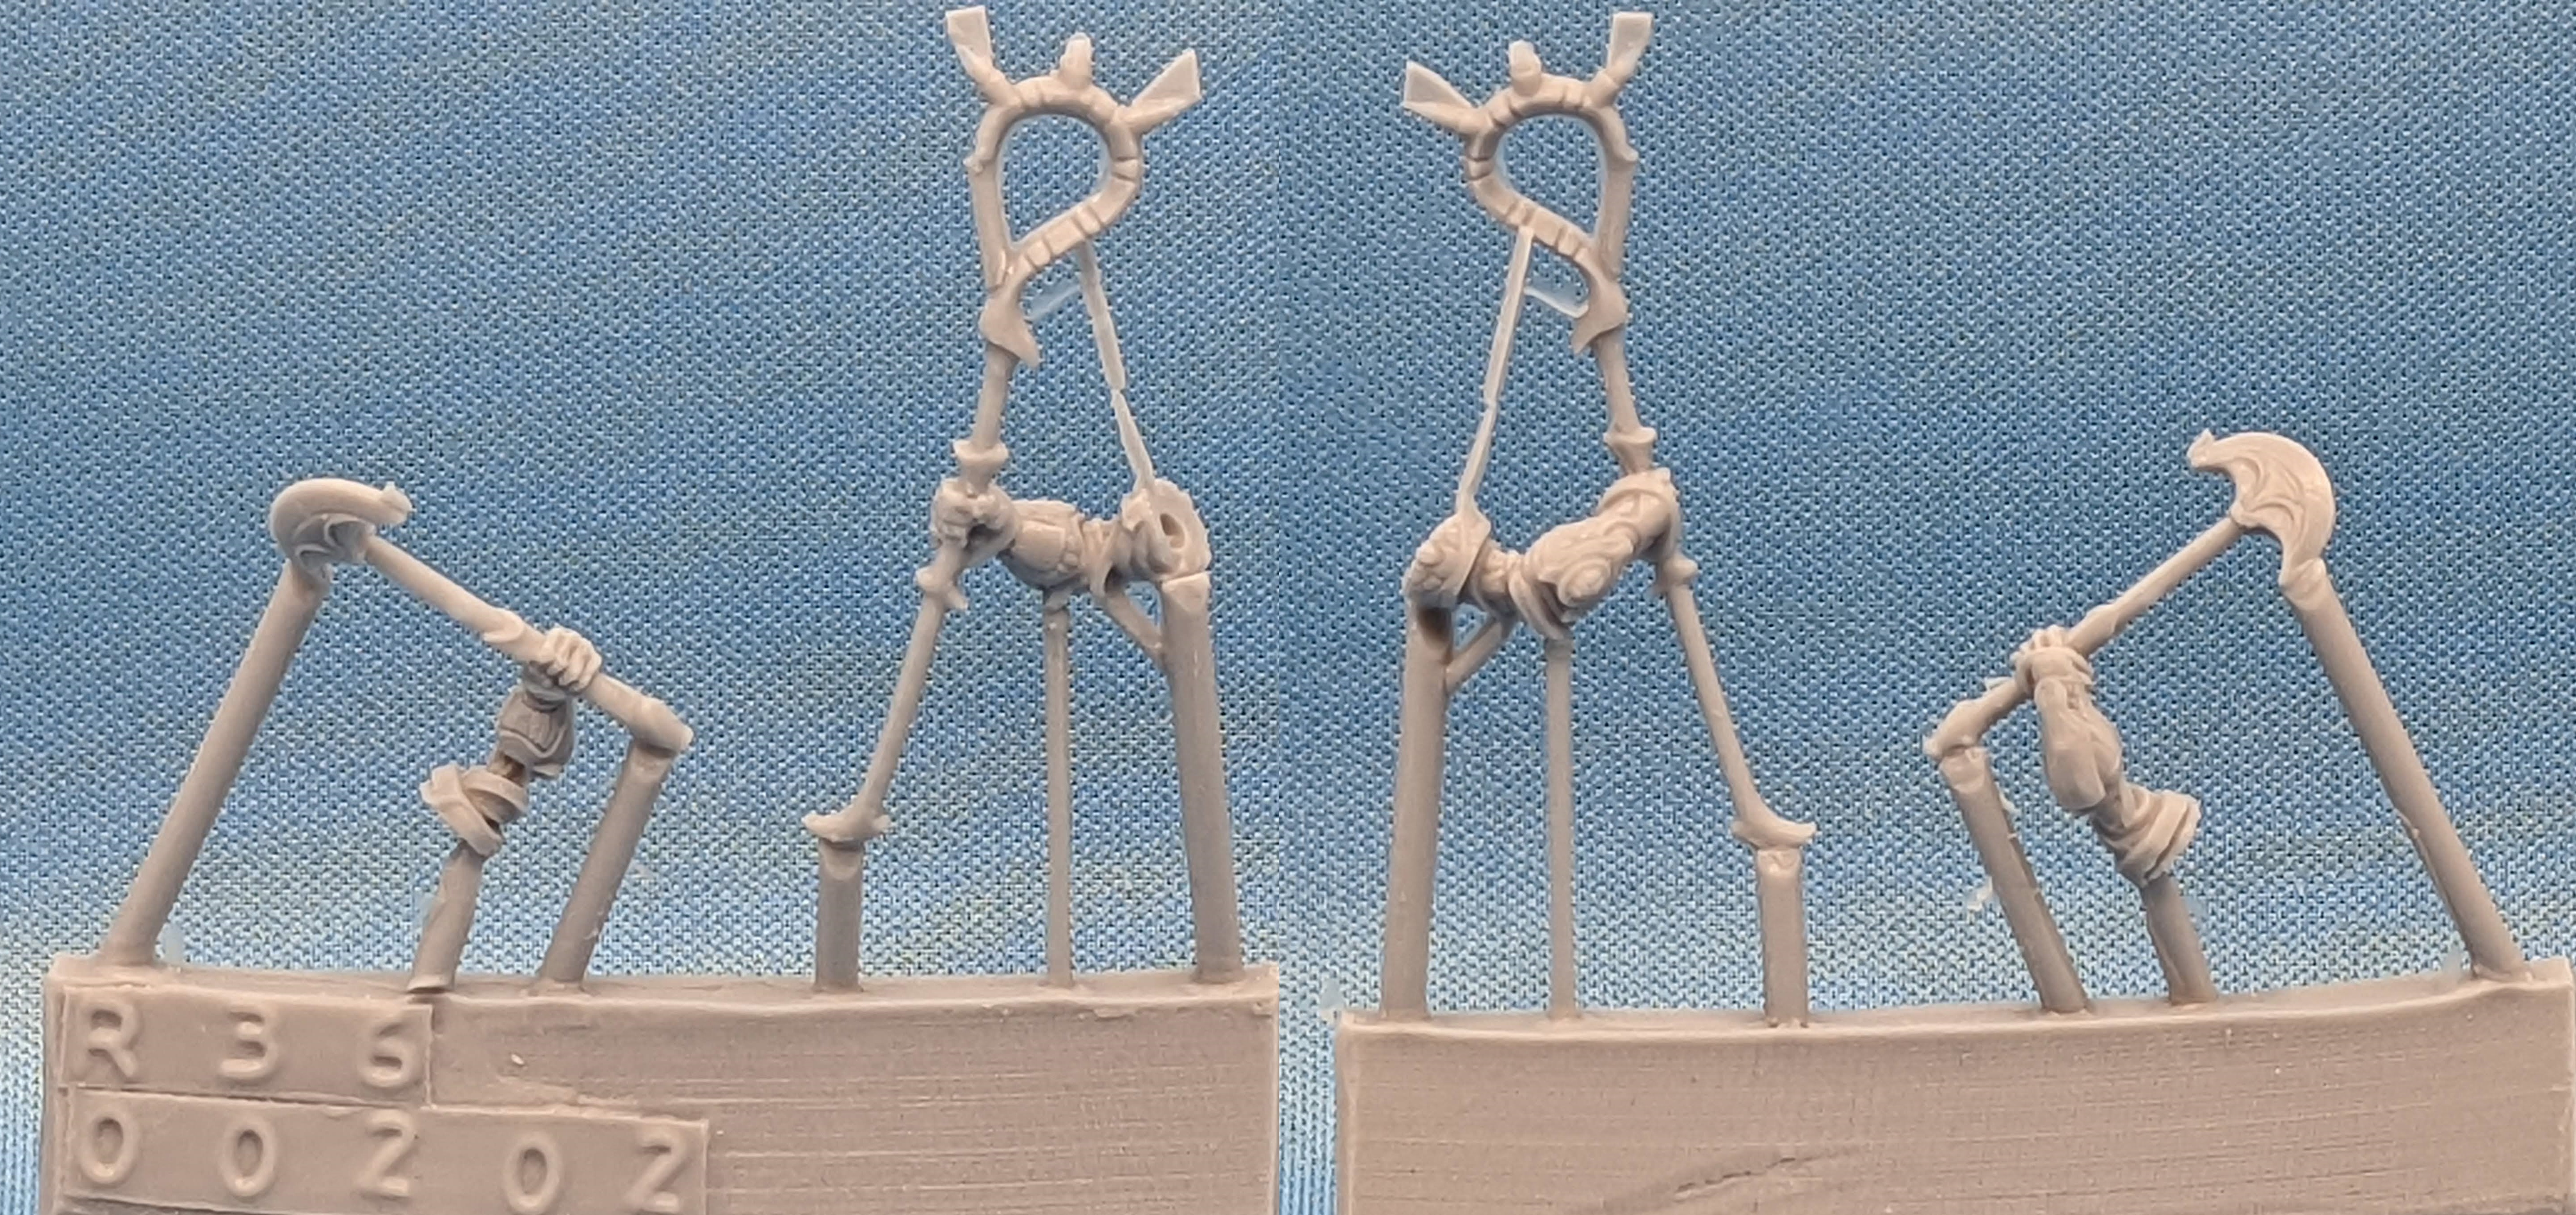
The other new hard plastic sprues are for the Revenant Cavalry, and combined with the Skeleton sprue, the Skeleton Archer Cavalry.
The two sprues are a tiny bit easier to tell apart than the skeleton ones.
For the horses on sprue 2, each half is labeled A - E. I didn't try to mix these, as 5 bodies was plenty for me. In addition, on sprue 1 each of the horse heads is also labeled to match the corresponding body.
To make Revenant Cavalry, add the small shields to the four pegs on the horse body. There is a small chevron shield that goes in the front of the horse, regardless of which type. There are two of each of these small shields on the first sprue (so 10 designs). If I had done a bit of pre-planning, I would have used two sets so that each model had 4 of the same design (as it was, I did use the same on the fore quarters as the hind quarters).
The revenants use the larger shields, and the spears.
To make Skeleton Archer Cavalry, use the bow and arrow arms from the skeleton sprue. Do not use the cavalry shields on the flanks. Also, had I planned it, I would have NOT used the straight arms for the bows, as those made them model shooting off to the side, instead of all shooting to the front. I also would have used extra skeleton heads instead of the revenant heads.
Also, always add the head last, so you can make sure they are facing the same way as they are shooting.
So in addition to the 40 infantry and 20 cavalry, you get three of the new Enslaved Guardians, which you can use with two handed weapons or crossbows. I liked the shooting version (and who doesn't love being able to shoot at a target, then surge into combat with them), so I didn't use the 2 handed weapons.
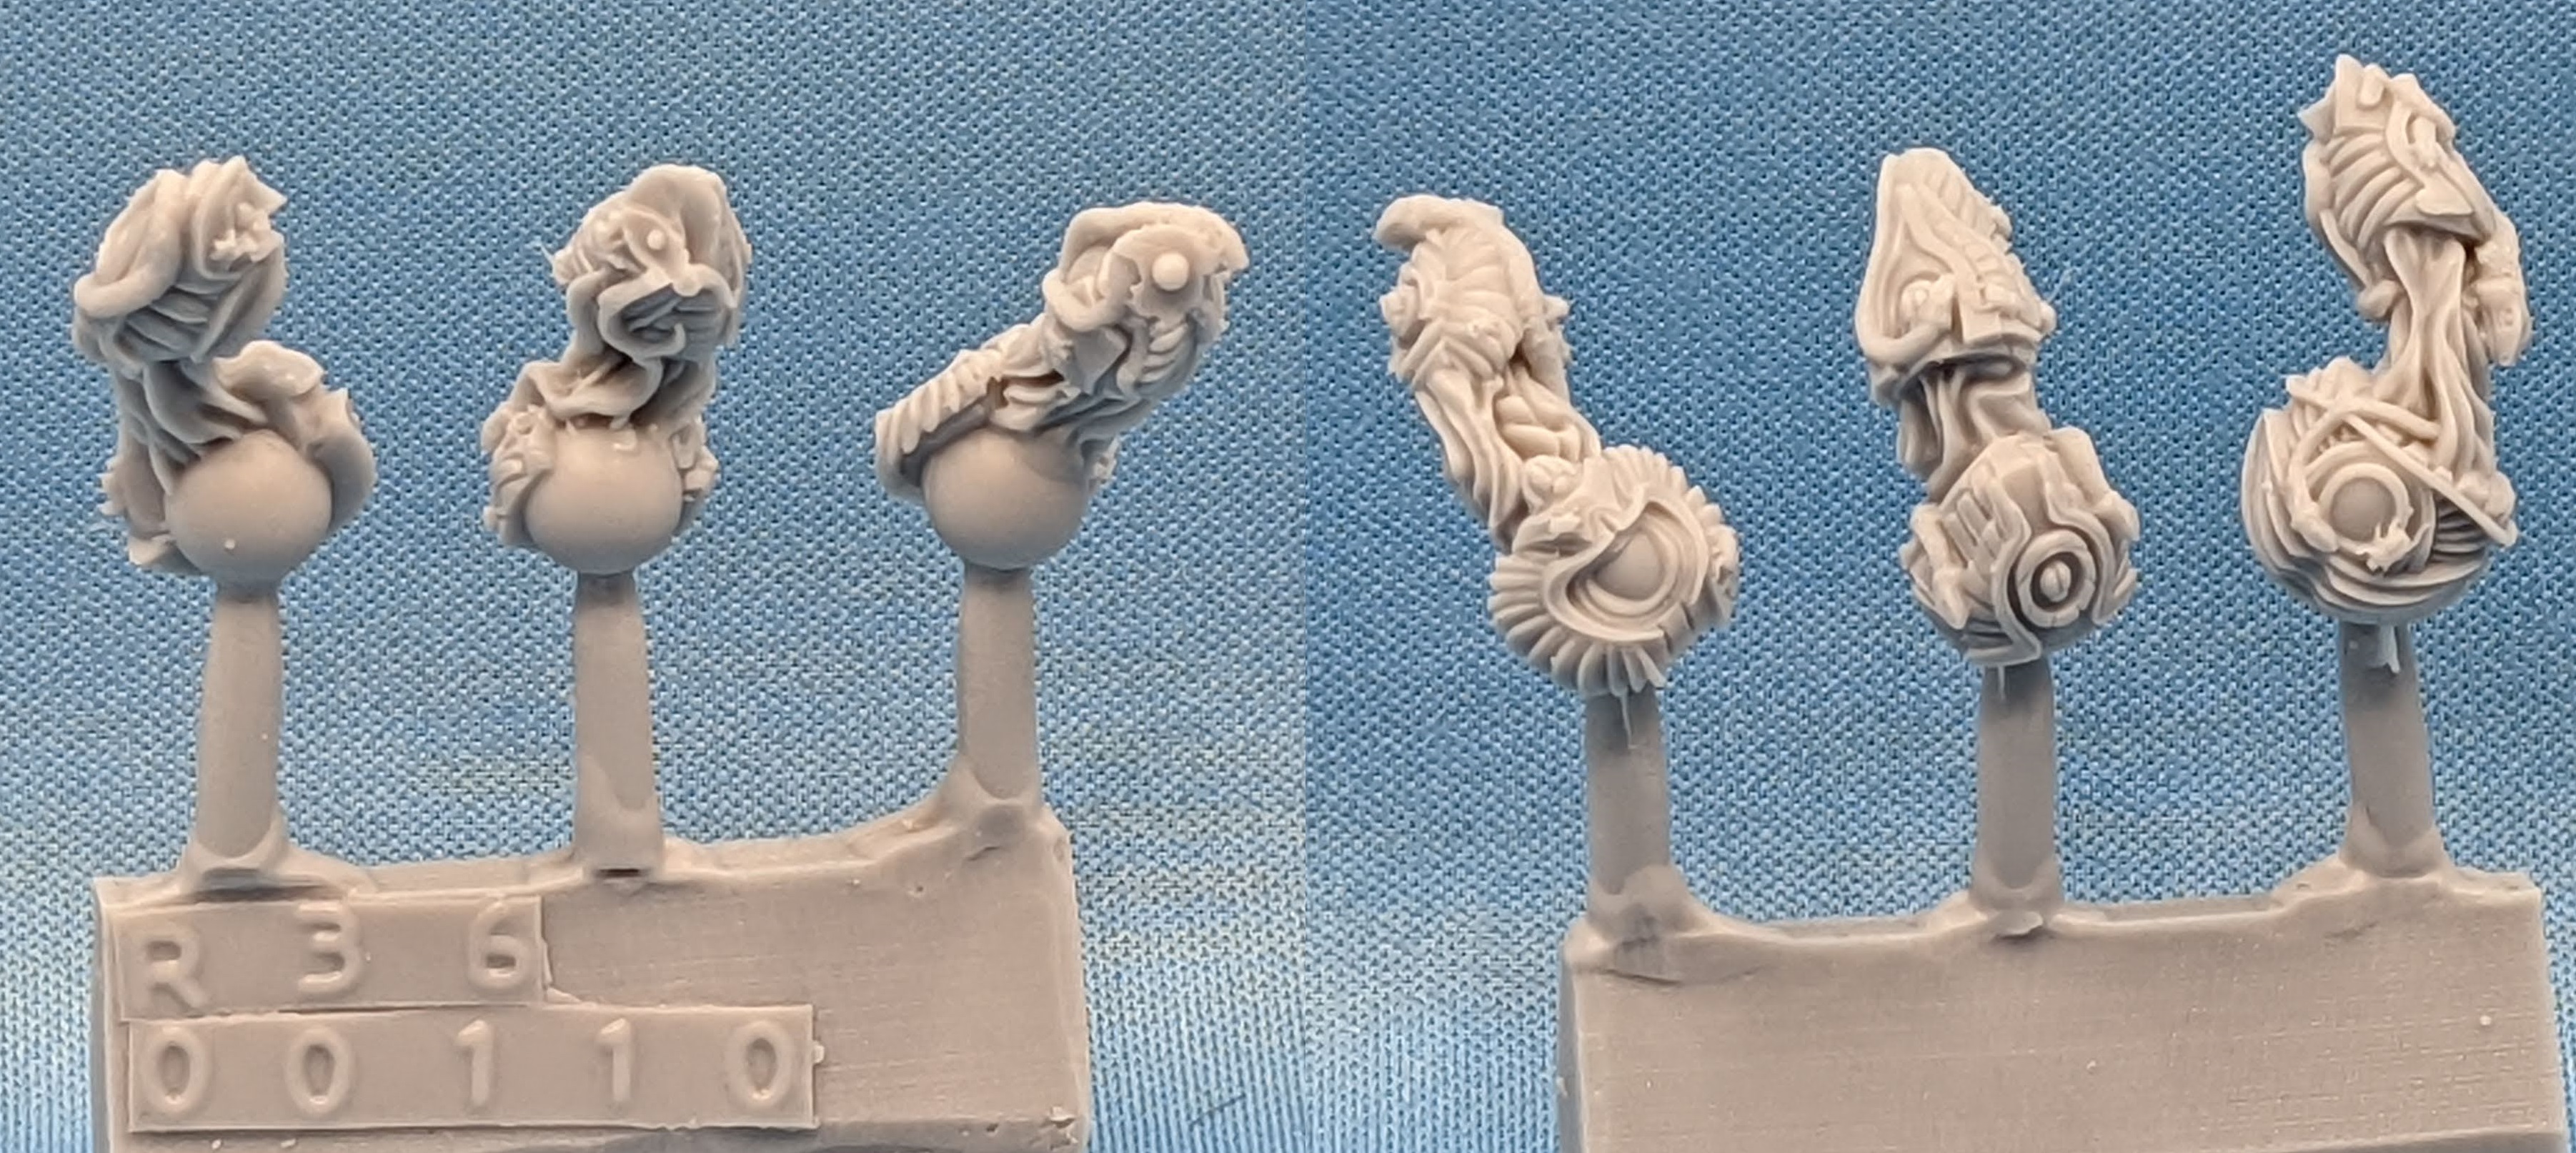
Three bodies
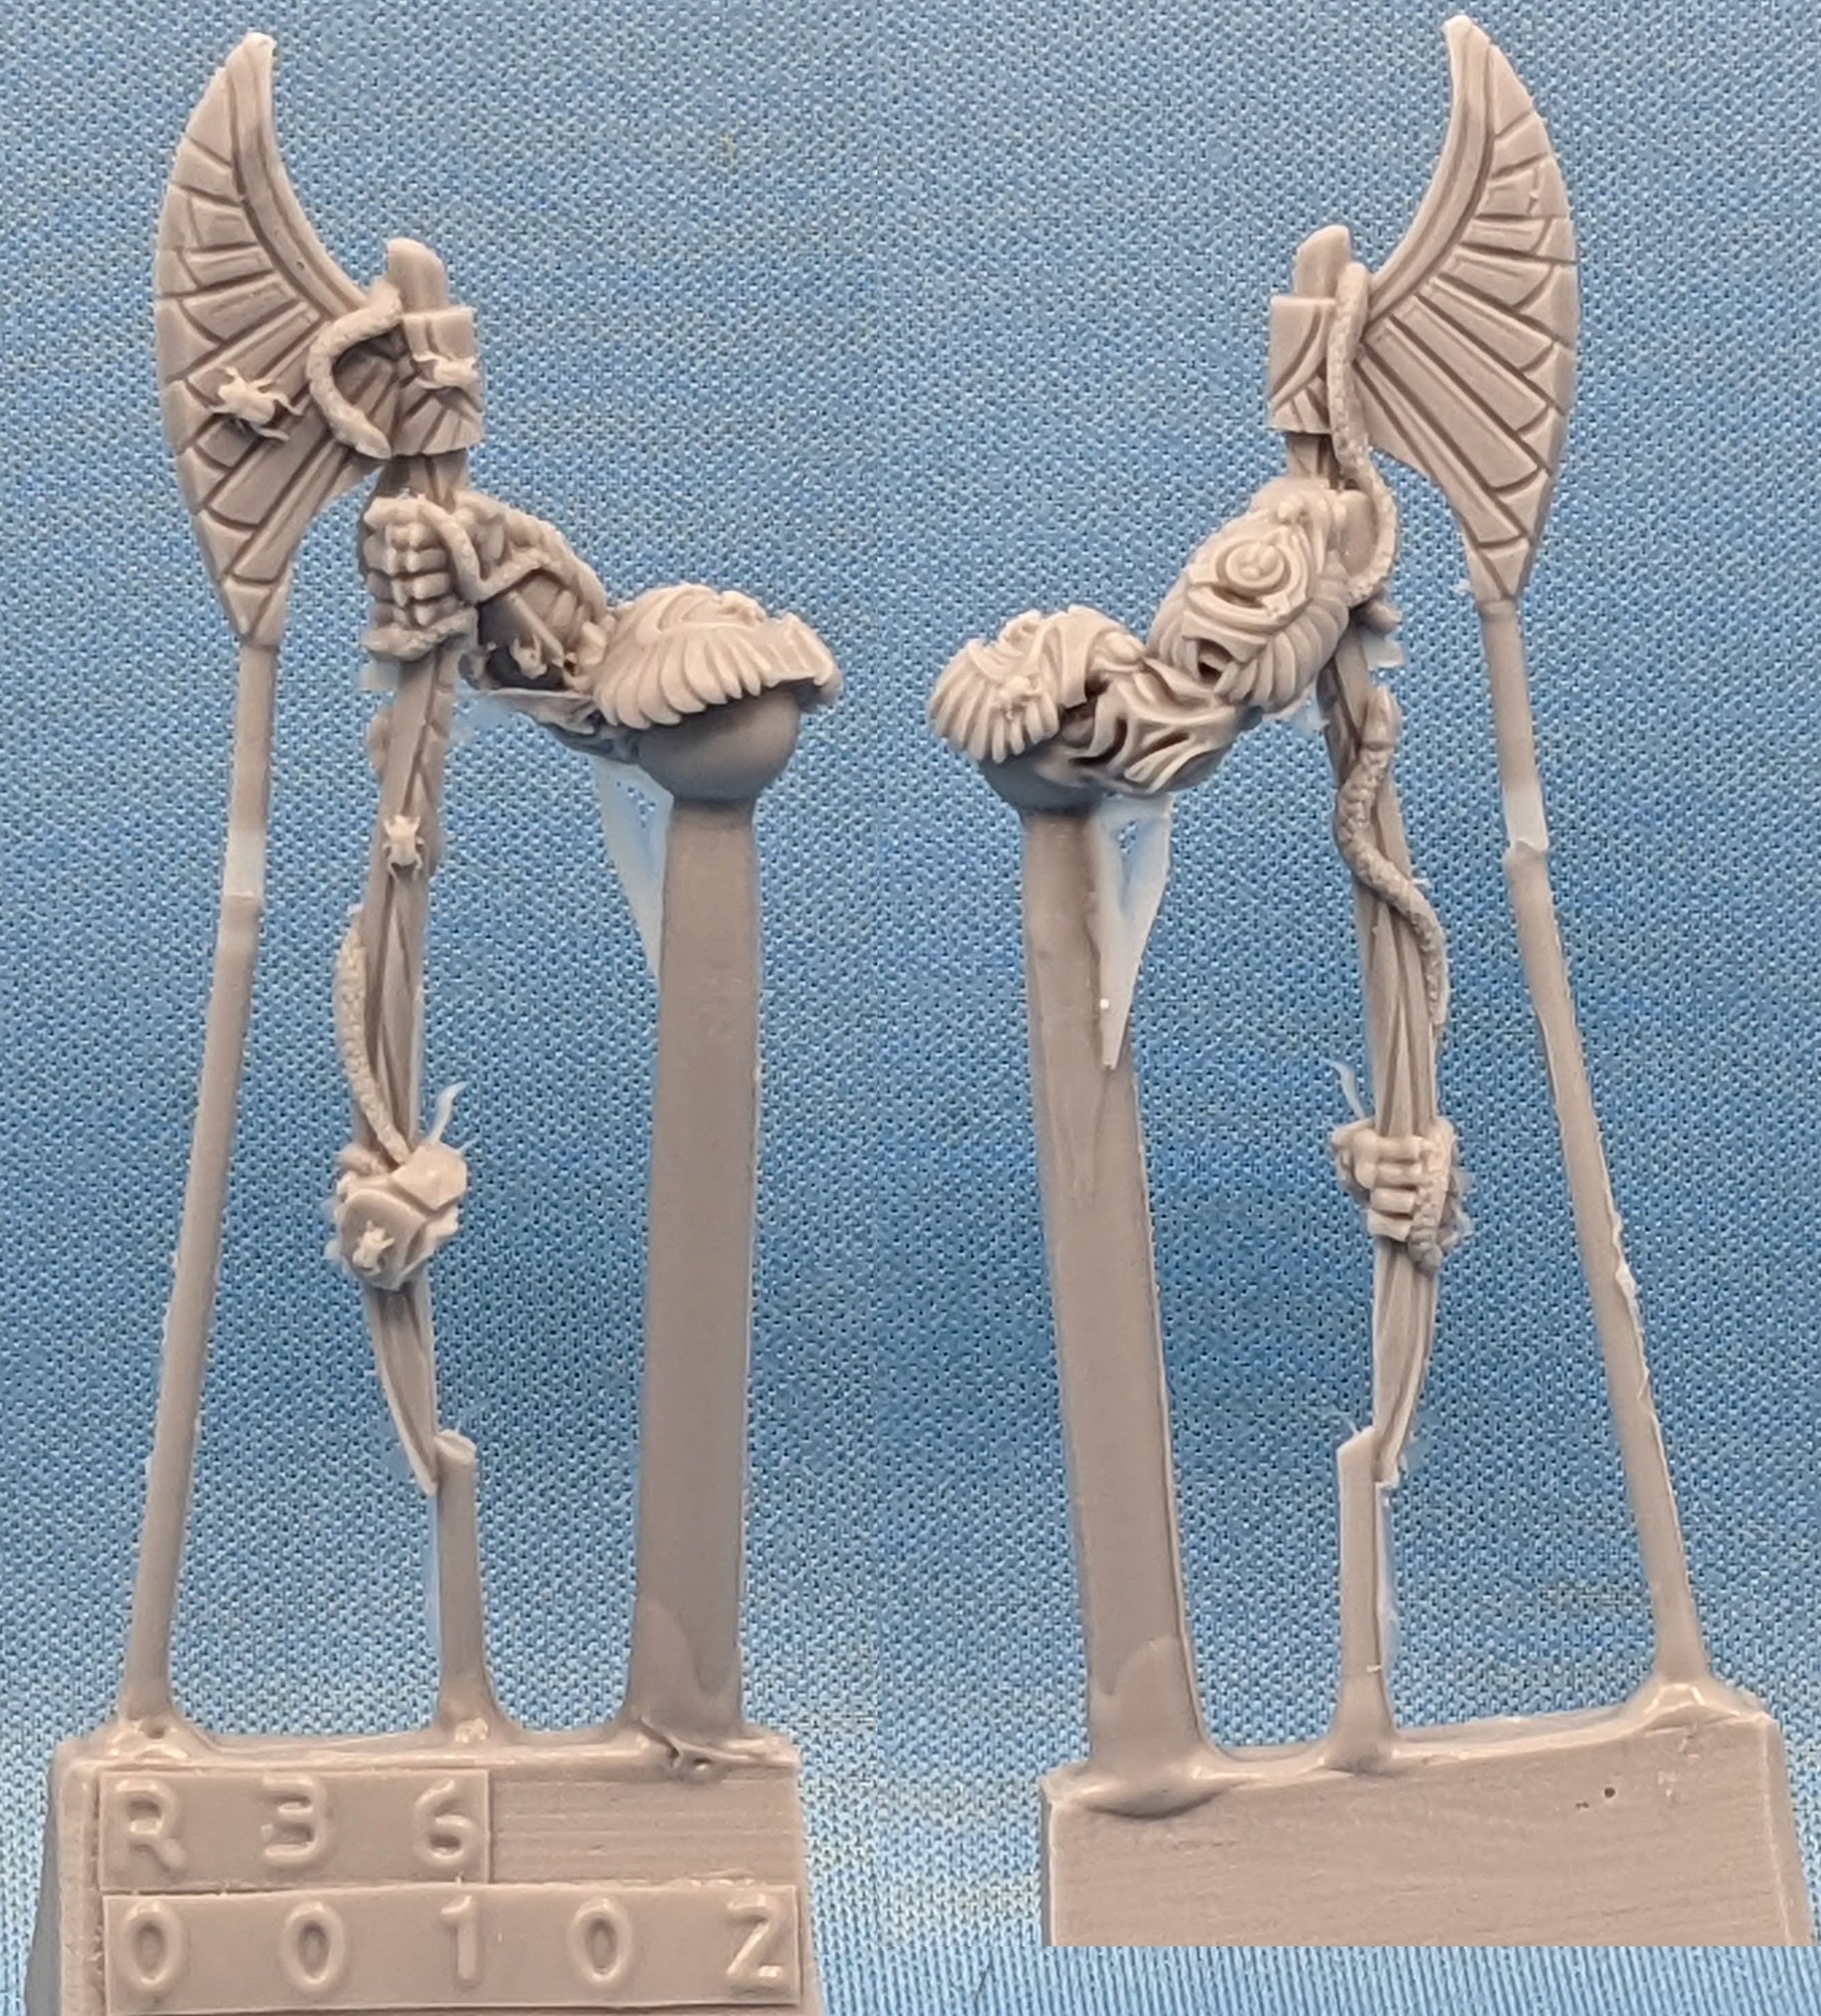
And three heavy crossbows on two spruellettes
There are then the arms to attach to the crossbow or 2 handed weapons. I did not find these easy or obvious to use. I was not able to easily tell if they were left or right arms unfortunately.
The armor on the shoulders do match - however this still doesn't help to identify which arm goes with which - I had to try both for each arm to get a match. I can't even say that one spruellette was the left and the other the right - as I ended up clipping from each to get something that fit. It makes me wish that they had done different shoulder armor for the crossbows vs. the 2 handed weapons, so you could identify which matched.
It took a bit of figuring, but I got them assembled. Of course I really dislike having to superglue three points (both shoulders and the hand/arm joint) simultaneously - I guess I just need a third (and probably a fourth hand) to do it easily.
You also get two resin characters. The first is the Cursed High Priest / Ahnunite Pharaoh, this is a resin version of the old metal model.
I actually have this model painted up in my army already, so didn't use these parts (yet . . . )
The other model is a mounted army standard bearer.
It wasn't until after I glued the halves together and attempted to stand the model up when I realized that the right rear leg was missing - I double checked the packaging, and it looks like this was a miscast. However that is the advantage of either types of undead (both wet and try) is that any battle damage just adds 'character' to the model.
I wanted to go from a standard bearer on foot to the Revenent Champion (mounted), so instead of using the arms that came with this model, I swapped out the left and right weapon arms from the Ahmunite Pharaoh.
So, as I mentioned earlier, I thought I'd try to get at least the cav and new hero ready in time for Gencon, which, as I am writing this while watching "Better Call Saul" on Monday night, is just a couple of days away.
Enough suspense - I actually managed to get it all done - two regiments of infantry, two troops of cavalry, a hero and the enslaved guardians.
I like doing some comparisons, so here are the units and the ones they replaced.
The Enslaved Guardians are significantly larger and much more detailed. Also, they have a lot of snakes on them.
I did go for gold armor on the new models (instead of the plain silver before). I did have to touch up the mummies until I get in a regiment of chariots to replace them with (and make a mounted cursed high priest so they can keep up with the cavalry or chariots).
And I still have another day before Gencon. (and I have already made new army lists that include the latest CoK updated - only required me to redo 17 of the 19 ones I had already :-). So the people in the How You Use It! will be happy everything is updated ).
Because it is all fun and games . . .


Thank you for this write-up, tips, and photos. I was just about to get into a new plastic EoD army - and had a lot of questions about how the sprues were laid out, how to combine archer parts for the cavalry archers, and so forth. This has pretty much set me up.
ReplyDeleteAlso, excellent work on painting, particularly the new upsized Enslaved Guardians.
Awesome work and thanks for sharing the sprue photos as well.
ReplyDelete