A little hobby time (it feels like it has all been reviews and new product pictures, and not any projects).
I finally got in a Greater Obsidian Golem for my Abyssal Dwarfs. This uses the same body as the Greater Earth Elemental for nature / dwarfs, but has two different heads and a different set of arms. If you ordered this as a separate add-on (for only $15 - why did I not do this?) as part of the
Kings of War Second Edition Kickstarter then you got both sets of arms and all three heads.
If you just got it as part of a Nature army, then it is ONLY the elemental, and if you got it as part of an Abyssal Dwarf army (or commercially, as it has been out since July) then you only got the Golem arms and heads.
So for my Greater Earth Elemental, I put him together in the 'original' pose, which is somewhat apelike. I had one arm raised (if I had both on the ground it wouldn't have fit on even the 75mm base provided.
I put he chest piece on, and then examined the body. It was pretty obvious where it needed to be cut to reposition the legs.
I wasn't sure if the resin would act like the resin/plastic (restic) and boardgame plastic models, but I decided to give it a try (the worst that could happen would be it got wet). A cup of water for a minute in the microwave, then a bit of a soak, and the resin softens nicely.
 |
| warming up in a cup of hot (near boiling) water |
These pieces were too big to truly reposition without cutting, but it is nice to know the resin does soften if I decided to do some repositioning on smaller models. Once warm and soft, then it was quite easy to cut the legs off with a sharp hobby knife (making sure to cut down on the mat instead of holding it and cutting my finger after the blade clears the model - like I did last week (blood, sweat and tears go into this hobby after all)). The angle on the left wasn't as perfect and I had to go from both sides, but it worked well.
 |
| double amputee |
I also clipped off the dangly bit from the first photo - just to keep it family friendly. :-)
The next step was to reattach the legs in the original position with pins. What I wanted to do was to rotate them back (thus rotating the body upward, straightening the pose). To attempt to keep it 'realistic' I wanted to go around the center of the joint.
Pinning is VERY easy with the resin. (I need to do a post on pinning, as I've had several people ask about it, and it is an easy, extremely useful technique).
 |
| pinning |
Once I put in the pins, I was able to put the leg back in its original position
 |
| right leg back in original position with pin |
then rotate it around the pin
 |
| Right leg rotated around joint |
The same was done with the left leg. This one did not fit quite as well when rotated as the angle changes much more - showing how the pin was absolutely required. I stood the model up to make sure the feet were standing flat and the body was in the more upright position I wanted, and then glued he legs in place (with superglue).
 |
| both legs rotated |
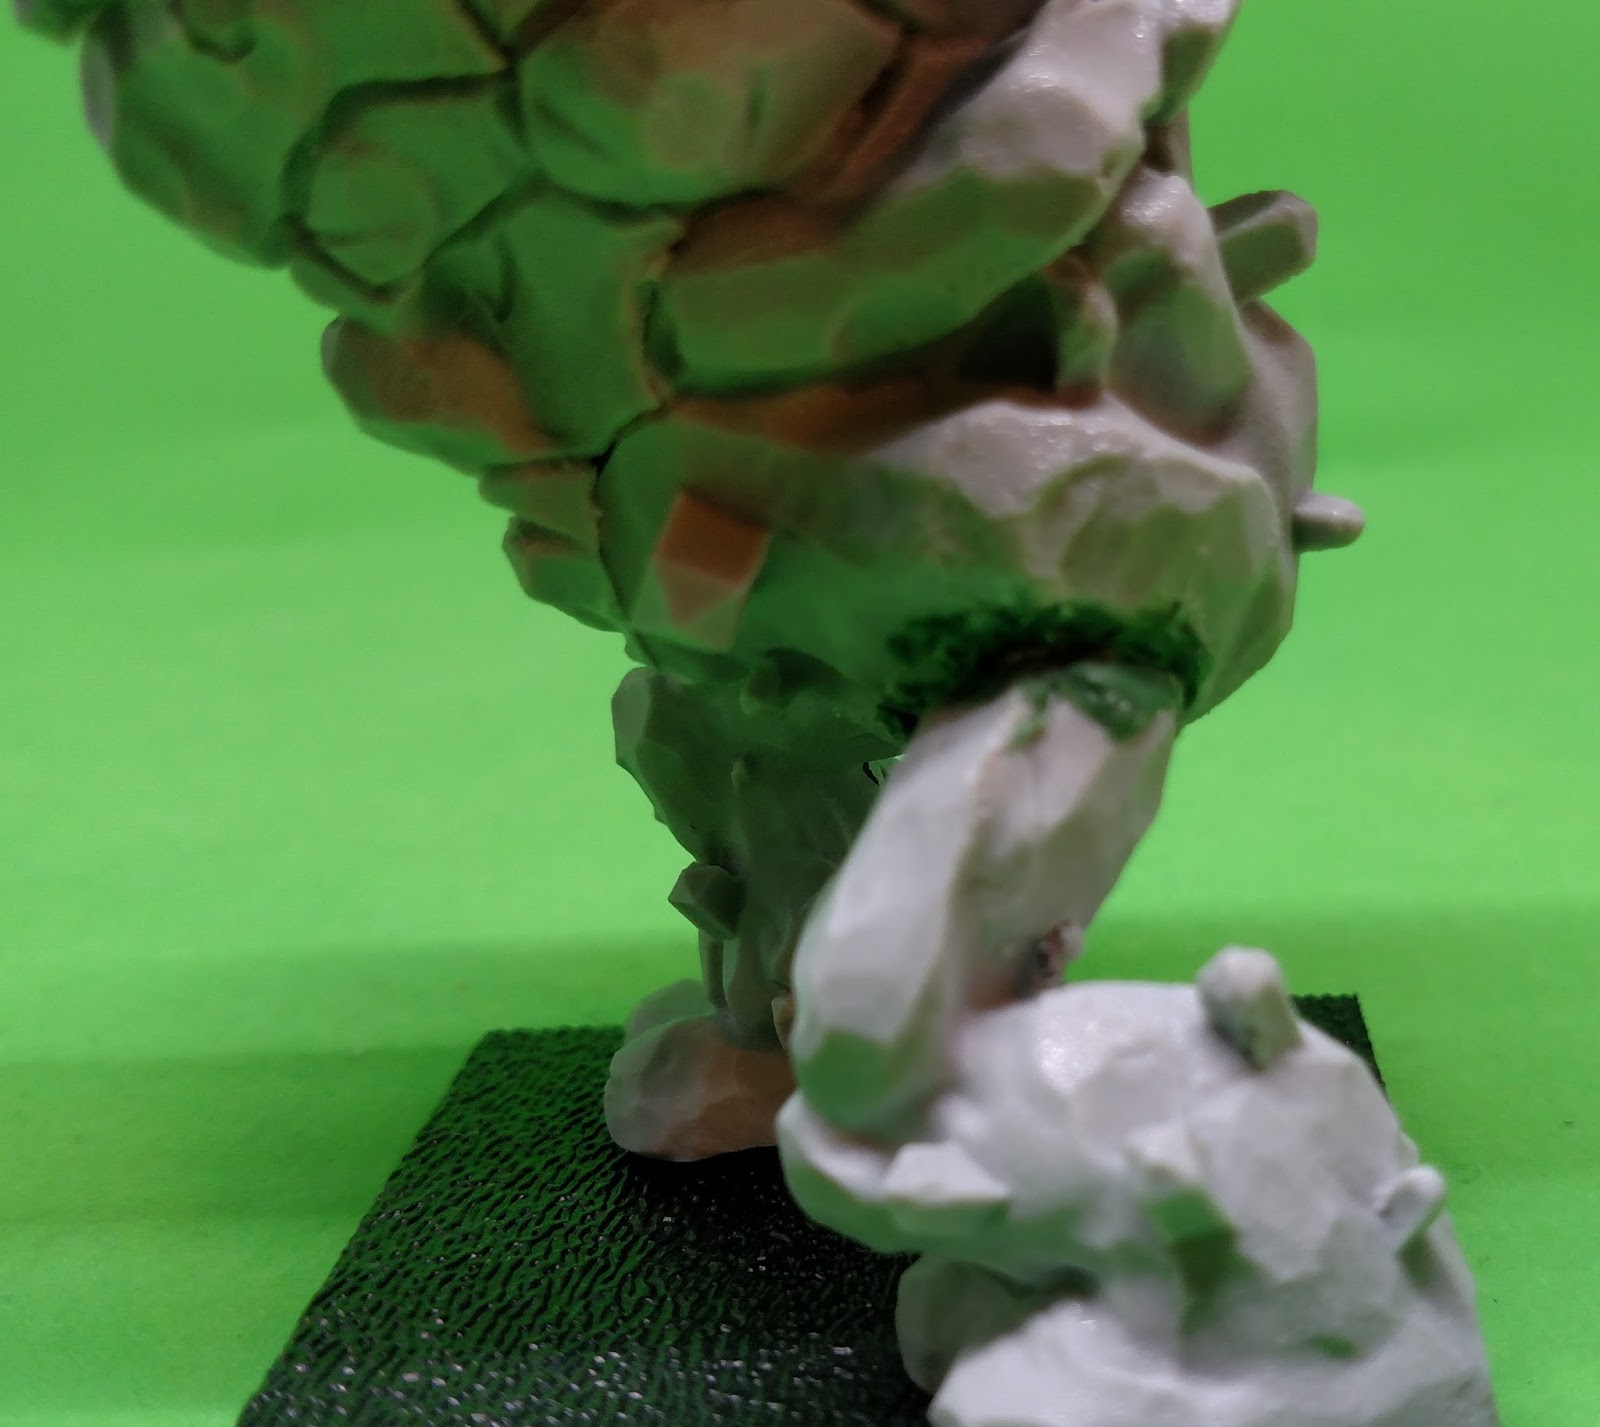
On my son's model he hid the new joins with sand because he wanted his to less rocky and more earthy. Since I was keeping the original rock texture I just filled the gaps with green-stuff (hmm, maybe another how to post for that as well). I also realized that I had a nice photo box (my
Foldio2) that I could use to do better pictures without all the background clutter on my work surface. (Not being much of a photography person, it always surprises me that the colors seem to change based on the background and lighting - but then we all saw the
blue black / white gold dress controversy this past summer)
 |
| left leg green stuff |
A bit of green stuff on each leg to fill in the gaps. Without leaning over and putting one arm down, the model (can you really call something this big a miniature?) now fits nicely on a 50mm base. I put it on one to make sure the legs were correct and flat - and then realized that since this is going in my Abyssal Dwarf army - it needed to be on cork to match the
lava bases for the rest of the army. So after the legs were set for a few hours, a little bit of super glue remover and a hobby knife got them off easily, and then add a bit of cork and pin the feet to it.
 |
| right leg green stuff |
The model comes with two heads - but the one with the visor just is too similar to the lesser obsidian golem version - and I like the other one better. So does everyone else, as I've yet to see any pictures on-line of anyone using the other head.
 |
| head |
Then add the arms. These were again pinned, just because they don't fit well into the arm sockets. I actually had to remove and replace the original pins as they weren't long enough - the usual 1/4"-1/2" length that I normally leave didn't actually manage to reach the body when I put the arms in place, so I had to make much longer ones. The armor and shoulders both had a 'natural' fit, so I went with it.
 |
| and arms |
So to show the difference - here is the Golem next to the Elemental - standing almost an inch taller. Even though they have the same body - they do not appear to be the same model much at all.
 |
| Comparison to the Greater Earth Elemental (yes, I started painting the GEE while working on the GOG) |
Because it is all fun and games . . .


That guy looks awesome!! Great Mod! I don't play any army with him in it but I want it!! Allies rules FTW! LOL
ReplyDeletelove it, I've 2 earth golems for my dorfs and 2 obsidian for the abysmal dorfs. This is a stupidly easy conversion, so much so that I never considered it. Time to reach for the razor saw I think
ReplyDelete