When working with any type of models, you will inevitably find that some pieces just don't fit together as well as you would like. If you are doing any type of conversions, you will find this even more often.
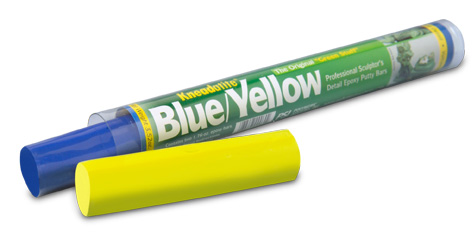
The solution is generally to fill the gaps. The most common way to do this is via green stuff. Green stuff was originally Kneadatite blue/yellow epoxy putty. This is often repackaged (either in tubes or ribbons) and resold under various other companies names. Traditional model sculptors often use this for their sculpts. There are also other colors of epoxy putty - plumbers putty is a good example of this, though not recommended for modelling. Grey stuff, has a finer grain and is often better for sculpting fine details on a model.
I like to buy my green stuff in larger sizes (Gale Force 9 has a nice one), though when starting out and not using much, the ribbon versions is nice because you can easily cut off equal parts by cutting the ribbon. It is usually easily available at your FLGS. Check to see if they have different brands as they are pretty much identical except for the price.
So in case you may not be sure what I mean when I talk about gap filling - here are a couple of models.
This first two are part of the new Forces of Nature Centaur Troop. You can see a big gap between the halves of their bodies. From the top they aren't too bad, but in front and underneath they are just too visible.


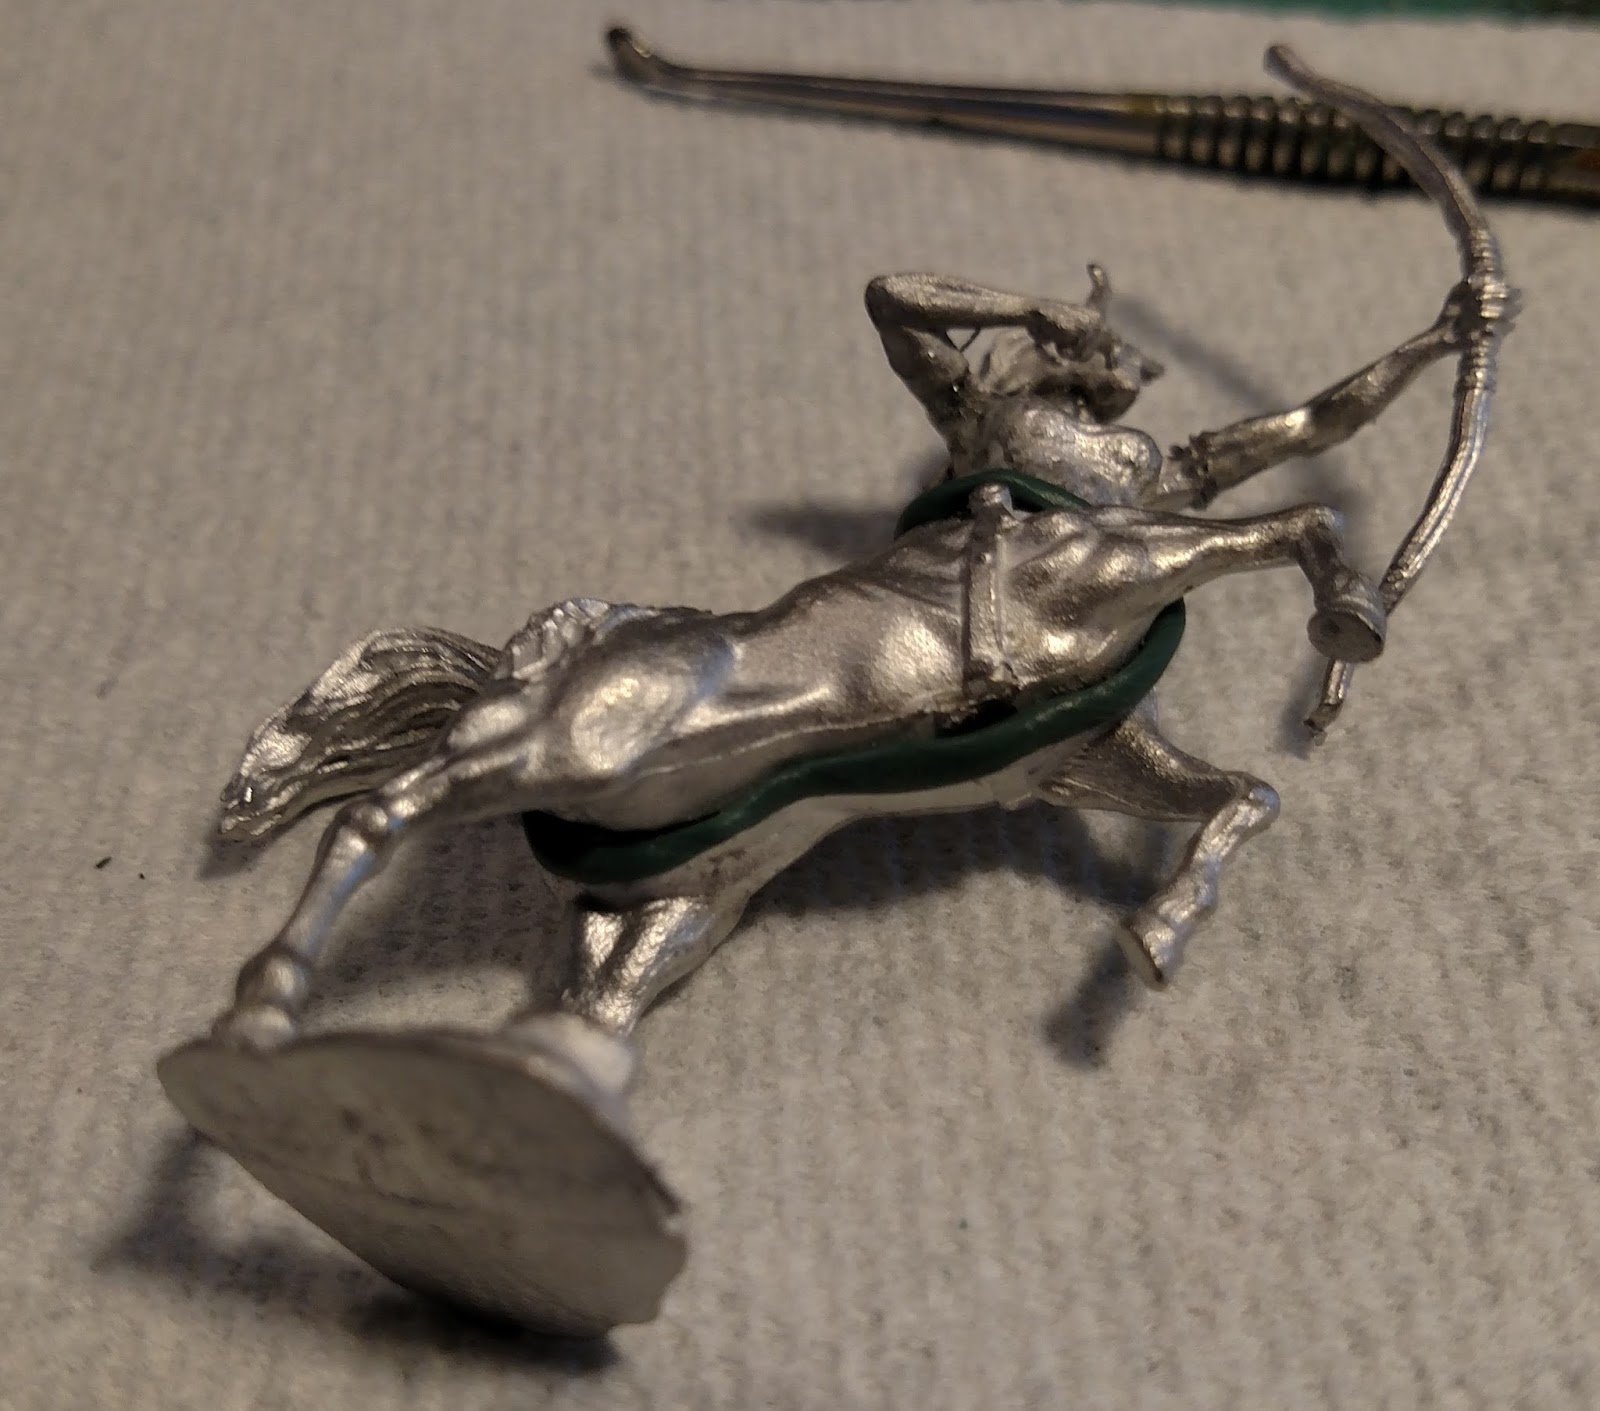
The next one is the centaur hero. There are a couple of changes (i.e. conversions) I made to this model. First I didn't care for the fact he was basically facing backward, so I cut and twisted him around to be facing the front. This left a big gap that needed to be filled where I had cut it. In addition the halberd handle was very thin - before I glued him to a base he would not stand, and laying down would bend either the top of bottom of the halberd, until it finally broke off the bottom. I took a thin steel wire and replace the entire haft of the halberd - it doesn't have the sculpted texture the original had, but isn't going to bend or break again.


So on to the actual work. The following pictures weren't using my light box, but are against a paper towel on my work table instead.
One thing that you should get is some modelling tools. You can get these simple ones at your FLGS, or at an art supply store. One of these is the only tool you really need for gap filling - it has a blade at one end with a point, and then the other is a rounded flat surface.

The first thing you do is to get to equal pieces of the epoxy. If you have a ribbon then it is quite easy to just cut across it. If they are separate then just cut equal amounts. If you ever get really serious about sculpting using this, you can actually vary the amounts of each to give you slightly different results (greater or shorter work time mainly). For our purposes get them as equal as you can, but don't worry if they aren't exact.

The next step is to simply work these together. One thing you will want to do is to keep your fingers wet as you work the epoxy together. It gets sticky (which you want), but you don't want it sticking to you or your tools instead of the model. I like to pull and fold the epoxy on itself over and over, working it like clay until the color is a uniform green (remember kids - yellow + blue = green). (and thus the name "green stuff" for yellow and blue putty).

Once you have gotten the putty mixed to a consistent color, pinch off a small piece and roll it out into a long 'rope'. Just start with a ball and roll it between you hands. It does not have to be completely consistent in size- usually about 1/8 of an inch thick or so.

Now simply press this thin 'rope' into the cracks you are filling. You want to get the green stuff down into the gap, not just laying on top of it.

Now take your sculpting tool, and smooth out joint, removing the excess green stuff. This is what the small flat end is great for. Make sure you keep your tool wet (get your mind out of the gutter) so it doesn't stick and pull the green stuff back out of the gap. In most cases you can just make a smooth join with the green stuff spreading over the sides slightly. As you do this you will pull off the extra green stuff - this just goes back into the ball for the next model. Lather-rinse-repeat

Really, that is all there is to filling your gaps. If there is some texture then you can use the tip of the other end of the sculpting tool to recreate it - but generally you won't need to for gap filling.

Filling gaps on models can quickly become a simple part of preparing them for painting, just like cleaning and assembling them.

Because it is all fun and games . . .
The solution is generally to fill the gaps. The most common way to do this is via green stuff. Green stuff was originally Kneadatite blue/yellow epoxy putty. This is often repackaged (either in tubes or ribbons) and resold under various other companies names. Traditional model sculptors often use this for their sculpts. There are also other colors of epoxy putty - plumbers putty is a good example of this, though not recommended for modelling. Grey stuff, has a finer grain and is often better for sculpting fine details on a model.
I like to buy my green stuff in larger sizes (Gale Force 9 has a nice one), though when starting out and not using much, the ribbon versions is nice because you can easily cut off equal parts by cutting the ribbon. It is usually easily available at your FLGS. Check to see if they have different brands as they are pretty much identical except for the price.
 |
| bulk green stuff |
 |
| green stuff ribbon |
This first two are part of the new Forces of Nature Centaur Troop. You can see a big gap between the halves of their bodies. From the top they aren't too bad, but in front and underneath they are just too visible.


The next one is the centaur hero. There are a couple of changes (i.e. conversions) I made to this model. First I didn't care for the fact he was basically facing backward, so I cut and twisted him around to be facing the front. This left a big gap that needed to be filled where I had cut it. In addition the halberd handle was very thin - before I glued him to a base he would not stand, and laying down would bend either the top of bottom of the halberd, until it finally broke off the bottom. I took a thin steel wire and replace the entire haft of the halberd - it doesn't have the sculpted texture the original had, but isn't going to bend or break again.


So on to the actual work. The following pictures weren't using my light box, but are against a paper towel on my work table instead.
One thing that you should get is some modelling tools. You can get these simple ones at your FLGS, or at an art supply store. One of these is the only tool you really need for gap filling - it has a blade at one end with a point, and then the other is a rounded flat surface.

The first thing you do is to get to equal pieces of the epoxy. If you have a ribbon then it is quite easy to just cut across it. If they are separate then just cut equal amounts. If you ever get really serious about sculpting using this, you can actually vary the amounts of each to give you slightly different results (greater or shorter work time mainly). For our purposes get them as equal as you can, but don't worry if they aren't exact.

The next step is to simply work these together. One thing you will want to do is to keep your fingers wet as you work the epoxy together. It gets sticky (which you want), but you don't want it sticking to you or your tools instead of the model. I like to pull and fold the epoxy on itself over and over, working it like clay until the color is a uniform green (remember kids - yellow + blue = green). (and thus the name "green stuff" for yellow and blue putty).

Once you have gotten the putty mixed to a consistent color, pinch off a small piece and roll it out into a long 'rope'. Just start with a ball and roll it between you hands. It does not have to be completely consistent in size- usually about 1/8 of an inch thick or so.

Now simply press this thin 'rope' into the cracks you are filling. You want to get the green stuff down into the gap, not just laying on top of it.
Now take your sculpting tool, and smooth out joint, removing the excess green stuff. This is what the small flat end is great for. Make sure you keep your tool wet (get your mind out of the gutter) so it doesn't stick and pull the green stuff back out of the gap. In most cases you can just make a smooth join with the green stuff spreading over the sides slightly. As you do this you will pull off the extra green stuff - this just goes back into the ball for the next model. Lather-rinse-repeat

Really, that is all there is to filling your gaps. If there is some texture then you can use the tip of the other end of the sculpting tool to recreate it - but generally you won't need to for gap filling.

Filling gaps on models can quickly become a simple part of preparing them for painting, just like cleaning and assembling them.

Another excellent post, taking something that can seem daunting, if you've never done it with no idea where to start and laying it out step by step in a simple process.
ReplyDelete